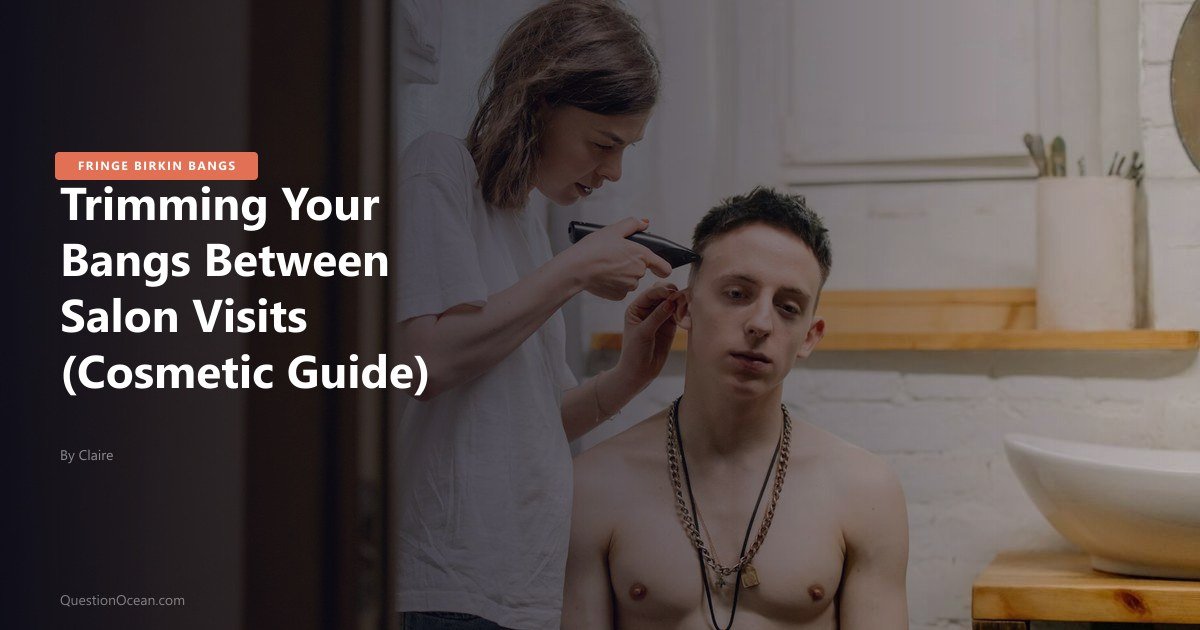
Bangs grow roughly half an inch per month — fast enough to lose their shape within 3-4 weeks of a fresh cut. Learning how to trim bangs at home bridges the gap between salon visits without sacrificing shape or balance. This bang trimming guide breaks down the same architectural concepts professionals use, translated into steps you can execute at your bathroom mirror with the right pair of shears.
Before you pick up scissors, make sure you know what fringe shape you are maintaining. Our 2026 fringe styling guide covers every current silhouette from curtain bangs to micro-fringe.
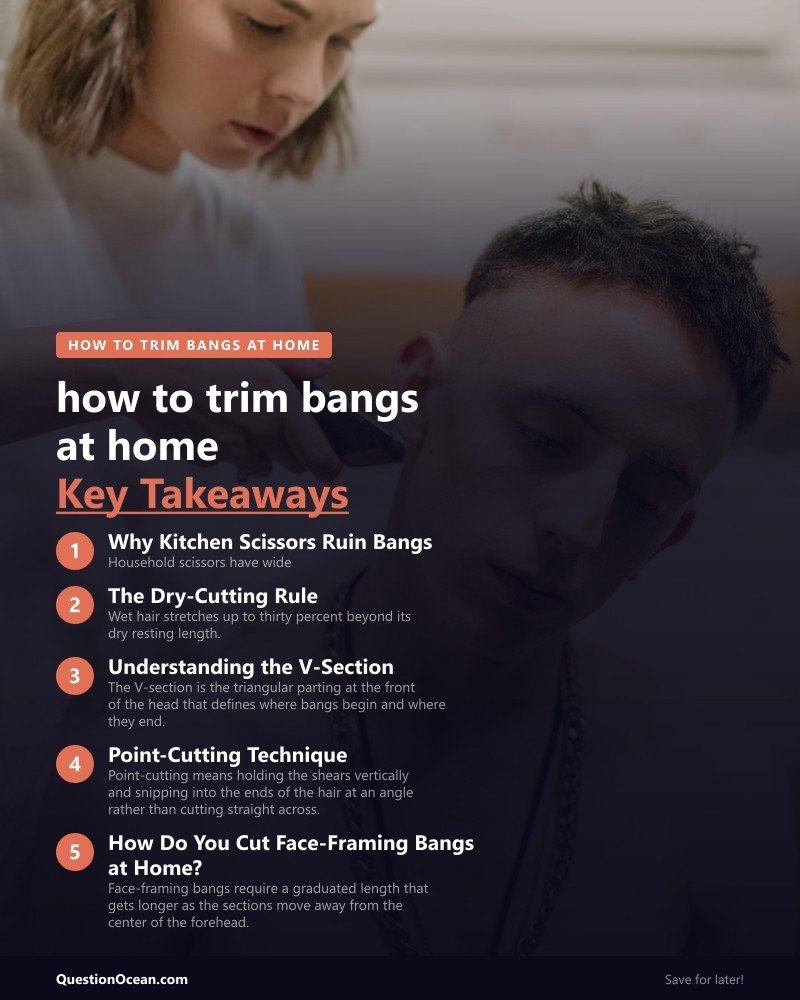
Why Kitchen Scissors Ruin Bangs
Household scissors have wide, thick blades designed to cut paper, fabric, or packaging tape. Those blades crush and bend hair fibers instead of slicing them, leaving frayed ends that split within days. Craft scissors are even worse because the serrated inner edge grabs clusters of hair and cuts them at uneven lengths.
Professional cosmetic shears use convex-edge blades ground to a razor angle that parts each strand cleanly. The pivot tension on shears is calibrated so the blades glide without grabbing, which gives you control over exactly how much hair falls with each cut. Investing in a dedicated pair of 5.5-inch cosmetic shears under thirty dollars is the single most important upgrade for anyone cutting bangs at home [AMAZON LINK].
The Dry-Cutting Rule: Why You Never Trim Wet Bangs
Wet hair stretches up to thirty percent beyond its dry resting length. If you cut bangs while they are wet, they will spring up dramatically once dry, leaving you with fringe that sits far shorter than intended. This is the number one reason DIY bang trims go wrong, and it is entirely preventable.
Always trim bangs when they are completely dry and styled the way you normally wear them. Blow-dry or air-dry first, then position the fringe exactly as it falls during your regular routine. What you see in the mirror at that point is the true length you are working with, and every cut you make will translate one-to-one into the finished result.
Understanding the V-Section: Architectural Foundations
The V-section is the triangular parting at the front of the head that defines where bangs begin and where they end. Getting this triangle correct determines whether your fringe blends seamlessly into the rest of your hair or looks like a disconnected block pasted onto your forehead. The apex of the V sits at the point on your center part (or natural part) where you want the deepest point of the fringe to originate.
To find your V-section, place a fine-tail comb at the apex point and draw two diagonal lines forward to the outer corners of each eyebrow. The hair inside that triangle is your bang section. Everything outside stays clipped back and untouched during the trim, preventing you from accidentally cutting into layers or face-framing pieces that belong to the longer silhouette.
How to Map Your Personal V-Section
- Part your hair in your everyday position. The V must follow your natural or habitual part, not a temporary center part you never wear.
- Place the pointed end of a tail comb at the apex. For most people, this point is one and a half to two inches back from the front hairline along the part.
- Draw the comb diagonally to the outer edge of the left eyebrow, separating bang hair from side hair. Clip the side hair away.
- Repeat on the right side. You now have a clean triangle of hair hanging in front of your face.
- Check width. The base of the triangle at the hairline should extend no wider than the outer corners of your eyebrows for standard bangs. Curtain bangs and face-framing pieces with long layers may extend slightly wider.
Point-Cutting Technique: The Only Cut You Should Use at Home
Point-cutting means holding the shears vertically and snipping into the ends of the hair at an angle rather than cutting straight across. This technique removes length in tiny, irregular increments that mimic the natural taper of professionally cut fringe. A straight, horizontal cut creates a blunt line that looks harsh on all but the thickest hair types.
Hold a small subsection of bang hair between your index and middle fingers. Angle the shears so the blade tips point upward into the ends at roughly forty-five degrees. Make small snips, moving across the subsection, removing no more than an eighth of an inch with each cut.
Point-Cutting Step by Step
- Isolate a half-inch-wide vertical subsection starting at the center of the fringe.
- Slide your fingers down to the length you want to keep. The hair extending below your fingers is what gets cut.
- Angle shears at forty-five degrees, tips pointing up.
- Snip into the ends with small, rhythmic cuts across the width of the subsection. Do not close the blades fully; use only the first inch of the blade tips.
- Release, comb down, and check. If more length needs to come off, repeat. Always remove less than you think you need.
- Move to the next subsection on one side, then the other, always working outward from center so the fringe stays symmetrical.
A quality pair of cosmetic shears makes point-cutting significantly easier because the blade tips stay sharp enough to handle small, precise snips [AMAZON LINK].
How Do You Cut Face-Framing Bangs at Home?
Face-framing bangs require a graduated length that gets longer as the sections move away from the center of the forehead. The key is to cut the shortest center section first, then angle each subsequent section slightly longer to create the frame. This graduation is what gives curtain bangs and Birkin bangs their signature swoop.
After isolating your V-section, divide the triangle into five vertical subsections: one center, two inner sides, and two outer sides. Cut the center section to your target length using the point-cutting method above. For each section moving outward, leave an additional quarter-inch of length so the fringe cascades gradually from shortest at center to longest at the temples.
Comb the entire fringe down flat after each subsection to verify the graduation looks smooth. If one side drops longer than the other, bring both sides forward and compare them against each other before making any correction cuts. For more detail on the Birkin shape specifically, see styling Birkin bangs at home.
Tension Control: Preventing the “Jump”
Tension is the amount of pull you apply to hair while holding it in your fingers for cutting. Pulling hair taut stretches it, and when you release it after cutting, it contracts and sits shorter than where you cut, a phenomenon stylists call “the jump.” The jump is the second most common reason home bang trims end up too short, right after cutting wet hair.
To minimize the jump, hold hair with almost zero tension. Let the section hang naturally between your fingers and simply pinch lightly to stabilize it rather than pulling it straight or downward. If you can feel resistance when you slide your fingers down the subsection, you are pulling too hard.
Tension Check Drill
Before you cut, practice this: hold a section between your fingers, let go with one hand, and watch where the hair falls. If it drops noticeably below where your fingers held it, you were applying too much tension. Re-grip with less pressure until the hair position barely changes when you release one hand.
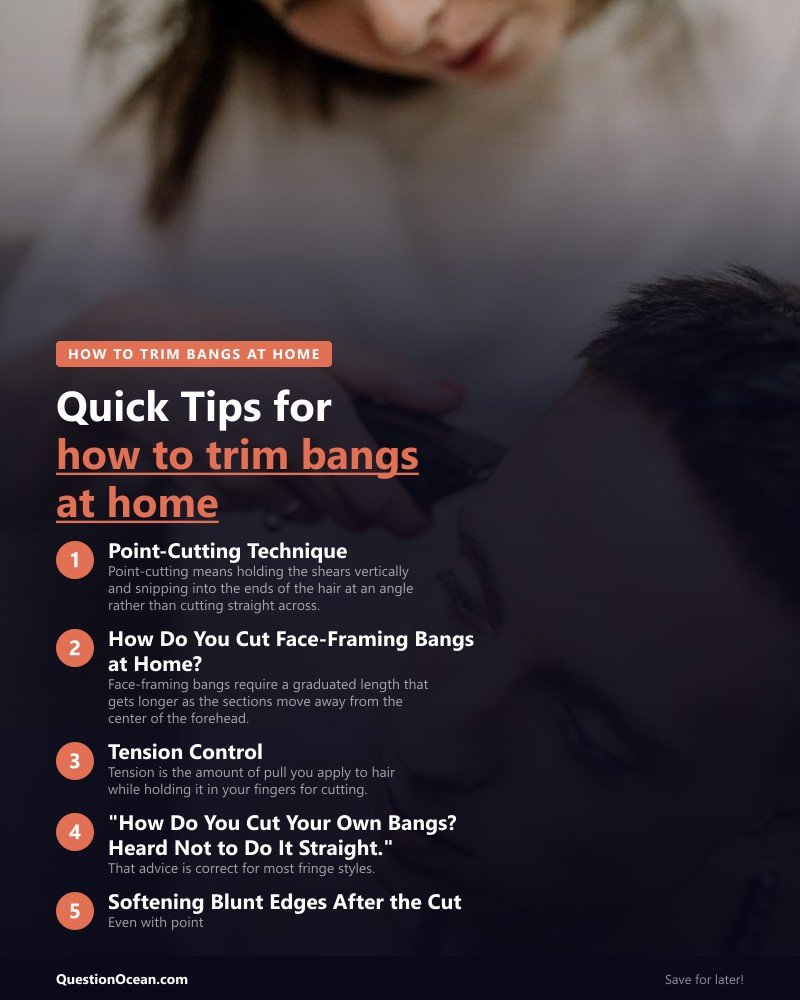
“How Do You Cut Your Own Bangs? Heard Not to Do It Straight.”
That advice is correct for most fringe styles. Cutting straight across in a horizontal line produces a blunt, shelf-like edge that only works on very thick, coarse hair and even then needs professional texturizing to look polished. Point-cutting, slide-cutting, or notching the ends all create a softer perimeter that blends with natural hair movement.
The exception is a true blunt micro-fringe, a deliberate style choice that requires surgical precision. If you are maintaining a micro-fringe daring trend cut, horizontal trimming is acceptable, but only in tiny increments with the shears held perfectly level. For all other fringe shapes, vertical or angled cutting keeps the edge soft and forgiving.
Softening Blunt Edges After the Cut
Even with point-cutting, a fresh trim can look slightly blocky until you soften the perimeter. Hold the shears horizontally and open-close them into the very tips of the fringe while sliding downward, a technique called slide-cutting, to feather the last quarter-inch. This removes bulk from the ends without changing the overall length.
Another option is to use thinning shears on the bottom third of the fringe only. Open the thinning shears once on each subsection to remove interior weight. Avoid thinning above the midpoint of the bang section, as this creates short, spiky layers that poke through the surface and refuse to lie flat.
Cosmetic Blending: Hiding Uneven Mistakes
Mistakes happen, and the goal is to disguise them without cutting more hair. A volumizing dry shampoo at the roots plus a side-sweep with a round brush hides up to a quarter-inch of unevenness by redirecting the eye away from the cut line. This buys you time until the hair grows enough for a correction trim.
If one side is noticeably shorter than the other, style the fringe with a slight diagonal sweep toward the longer side. Use a flexible hold spray to keep the sweep in place throughout the day. If the damage is more than a quarter-inch of difference, consider clip-in bangs made from real hair as a temporary cosmetic cover while your natural fringe grows out.
For those with fine or thin hair, uneven fringe is especially visible because there is less density to camouflage gaps. Explore strategic layering and face-framing for thin hair for techniques that add visual thickness around the face.
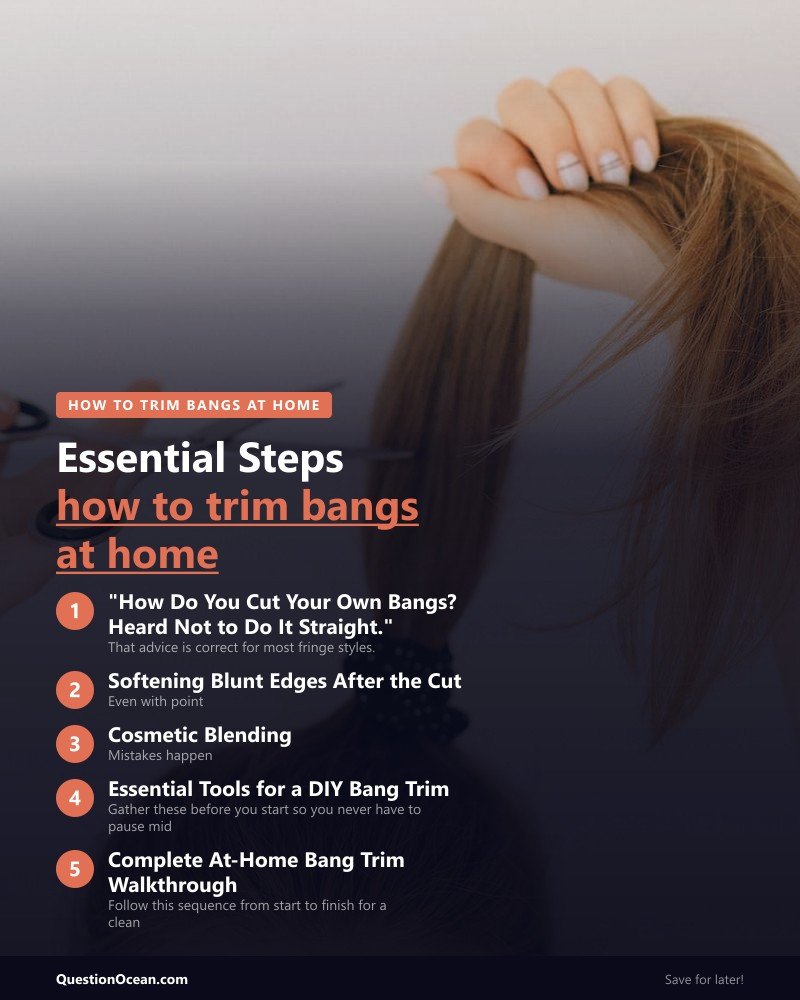
Essential Tools for a DIY Bang Trim
Gather these before you start so you never have to pause mid-cut.
| Tool | Purpose | Price Range |
|---|---|---|
| 5.5-inch cosmetic shears | Clean, precise cuts without crushing fibers | $15 — $30 |
| Fine-tail comb | Sectioning the V-section and combing subsections | $3 — $8 |
| Sectioning clips (x4) | Holding side hair and layers out of the way | $5 — $10 |
| Handheld mirror | Checking the back and sides from multiple angles | $8 — $15 |
| Thinning shears (optional) | Removing bulk from thick bangs without changing length | $12 — $25 |
| Dry shampoo | Pre-trim oil absorption and post-trim blending | $6 — $14 |
A sharp pair of cosmetic shears is the non-negotiable item on this list [AMAZON LINK]. Every other tool is a helpful accessory, but dull or wrong scissors will undermine your technique regardless of how well you section and point-cut.
Complete At-Home Bang Trim Walkthrough
Follow this sequence from start to finish for a clean, salon-adjacent result.
- Start with dry, styled hair. Blow-dry bangs into their normal position. Do not trim wet hair under any circumstance.
- Map your V-section. Use the tail comb to isolate the triangle and clip away all non-bang hair.
- Divide the triangle into vertical subsections. Five sections works for most fringe widths.
- Begin at the center subsection. Hold with minimal tension, point-cut to your target length, release, and check.
- Move outward one section at a time. Match or graduate length depending on your fringe style.
- Compare both sides. Bring matching subsections forward and hold them together at the center to check symmetry.
- Soften the perimeter. Slide-cut or use thinning shears on the bottom third only.
- Style and assess. Blow-dry or comb the fringe into its final shape, check in natural light, and make micro-corrections only if necessary.
- Clean your shears. Wipe blades with a soft cloth and store them in a protective case to maintain the edge for next time.
How Often Should You Trim Bangs Between Appointments?
Bangs typically need a maintenance trim every two to three weeks depending on growth rate. Trimming a tiny amount frequently keeps the shape consistent and prevents the panic trim where you cut too much because the fringe has grown past your eyes. Mark a recurring reminder on your calendar for every fourteen days and assess whether a trim is needed.
If you are growing bangs out intentionally, skip the trim and focus on styling techniques to manage the awkward length. Pinning, braiding, and sweeping are all covered in our 2026 fringe styling guide under the grow-out section.
FAQ
What scissors should I use to trim bangs at home?
Use 5.5-inch cosmetic shears with a convex edge. Kitchen scissors, craft scissors, and fabric shears all crush hair fibers and leave ragged ends that split within days.
Should I cut bangs wet or dry?
Always cut bangs dry. Wet hair stretches up to thirty percent, so cutting while wet results in bangs that are significantly shorter than intended once they dry and contract.
How do I avoid cutting bangs too short?
Use minimal finger tension, cut dry hair only, and remove no more than an eighth of an inch per point-cut pass. You can always cut more, but you cannot put hair back.
What is point-cutting and why does it matter for bangs?
Point-cutting means snipping vertically into the hair ends at an angle. It removes length in small, irregular increments that create a soft, natural-looking edge instead of a harsh blunt line.
How do I fix bangs I cut unevenly?
Sweep fringe diagonally toward the longer side and secure with a flexible hold spray. A volumizing dry shampoo at the roots adds texture that disguises minor length differences. For major errors, clip-in bangs offer a temporary cosmetic fix.
How often should I trim my bangs between salon visits?
Every two to three weeks is standard. Frequent, minimal trims maintain shape more reliably than waiting until bangs have grown past your eyes and require a larger correction.
Can I use thinning shears on my bangs?
Yes, but only on the bottom third of the fringe. Thinning above the midpoint creates short spiky layers that poke through the surface and refuse to lie flat.
Conclusion
Trimming your bangs at home is a learnable cosmetic skill built on three foundations: dry cutting, proper sectioning through the V-section, and point-cutting with real shears. Tension control and patience prevent the two biggest mistakes, cutting too short and cutting unevenly. Keep a pair of dedicated cosmetic shears, trim every two to three weeks, and save the structural reshaping for your stylist. For the complete ecosystem of fringe care and styling, revisit the 2026 fringe styling guide.