
The removal phase causes more damage than the entire 6-8 week wearing period for most braid installations, because the instinct to wet and wash the hair immediately after unbraiding is exactly wrong. Shed hairs that accumulated over weeks create matted clumps at the root zone (the “dirt bulb”), and introducing water to these matted clumps before detangling locks the tangles into cement-like knots that require force and breakage to remove. Taking out braids without breakage requires a mandatory three-step sequence: oil saturation for slip, thorough finger detangling of the dirt bulb while dry, and only then water contact for the first wash, never reversing this order.
This guide covers the biology of the dirt bulb phenomenon, the oil saturation protocol for painless braid removal, and the detangle-before-water rule that prevents the majority of takedown breakage.
For the complete protective styling framework, see our pillar guide to protective hairstyles 2026.
The Biology of the Dirt Bulb
The “dirt bulb” is the matted clump of shed hair, product buildup, and dead skin that accumulates at the base of each braid over the 6-8 week installation period. Understanding what it is and how it forms explains why removal technique matters so much.
Normal hair shedding: The average person sheds 50-100 hairs per day as part of the natural growth cycle. Over a 6-week braid installation, that’s approximately 2,100-4,200 hairs that would normally fall freely from the head during washing and brushing.
What happens under braids: Those shed hairs can’t fall away. They remain trapped inside the braid structure, held in place by the braiding tension and the surrounding strands. Over 6-8 weeks, the shed hairs accumulate into a dense, matted clump at each braid’s root zone.
The dirt bulb composition:
- Shed hair strands (the majority of the mass)
- Accumulated sebum (natural scalp oil) that has migrated down the hair shaft
- Product residue from edge controls, moisturizing sprays, and scalp oils
- Dead skin cells from the scalp surface
Why the dirt bulb looks alarming but is normal: The volume of shed hair in the dirt bulb often alarms people into thinking the braids caused massive hair loss. In reality, the total accumulated shed hair matches what you would have lost naturally over the same period: it simply collected in one visible mass rather than falling away gradually.
The Oil Saturation Protocol
Oil saturates the matted dirt bulb area, creating slip between the tangled strands that allows them to be separated without force. This is the critical step that determines whether removal is painless or breakage-heavy.
Step-by-Step Oil Saturation
- Select a penetrating oil: Coconut oil, olive oil, or a commercial detangling oil. The oil must be fluid enough to penetrate the matted area, solid coconut oil should be warmed to liquid state first
- Section the braids: Work with 4-6 braids at a time, not the entire head simultaneously
- Apply oil generously to the root zone of each braid, directly onto the dirt bulb area. Saturate: this is not the time for restraint. Use 1-2 tablespoons per section
- Massage the oil into the matted area using fingertips, pressing gently to work the oil between the tangled strands
- Wait 10-15 minutes after applying oil to each section. The oil needs time to lubricate the inter-strand contact points that are holding the mat together
- Do not add water. The hair stays completely dry during this entire phase
Detangling Oil for Braid Removal
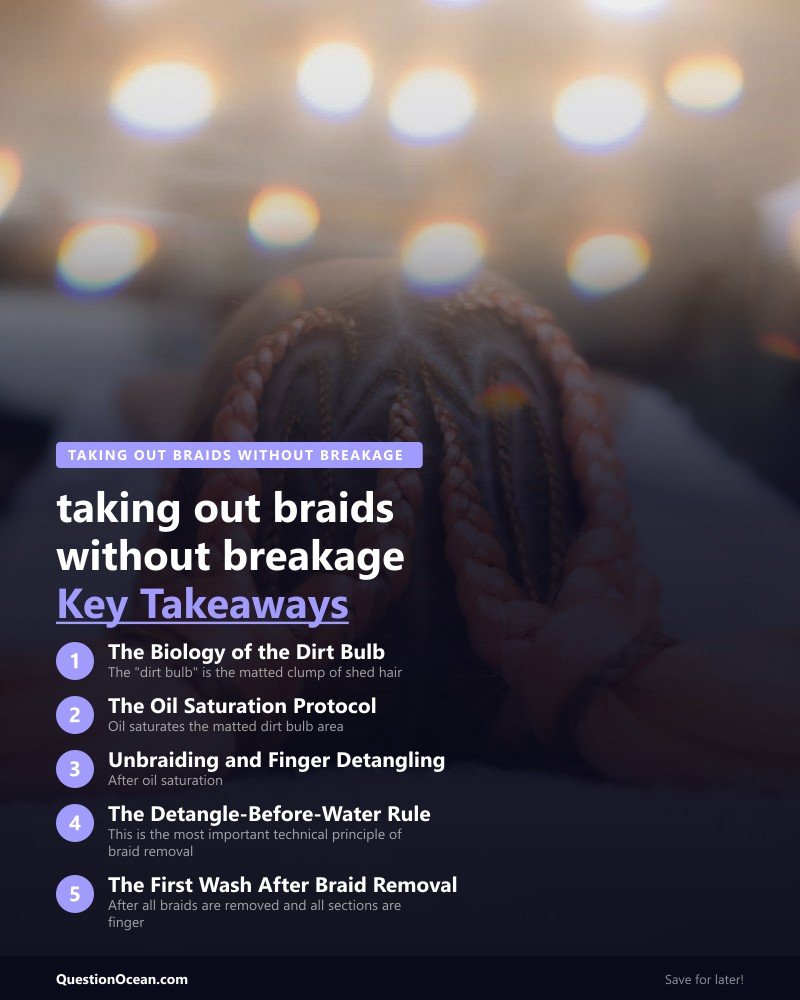
Unbraiding and Finger Detangling
After oil saturation, the actual braid removal begins, slowly and always from the bottom up.
Unbraiding Protocol
- Start at the braid end. Unravel the braid from the tip upward. If the braiding hair was folded into the braid end, carefully unfold and separate it from the natural hair
- Remove braiding hair as you go. Separate the synthetic or added hair from each section of the braid as you unravel upward. Do not pull. If the added hair is tangled with natural hair, apply more oil to the junction and gently slide it free
- Stop at the root zone. When you reach the dirt bulb area at the base, stop unbraiding and switch to finger detangling
Finger Detangling the Dirt Bulb
- Saturate the dirt bulb with additional oil if it has absorbed the first application
- Use your fingers (not a comb or brush) to gently separate the matted strands. Start from the outer edges of the mat and work inward
- Pull shed hairs away gently. These are the strands that slide out easily with minimal resistance. They are already detached from the follicle and just need to be freed from the mat
- For stubborn knots: Apply more oil directly to the knot, press and roll it between your fingertips for 10-15 seconds, then try separation again
- Never yank, pull sharply, or rip through a knot. If it doesn’t separate with gentle finger pressure plus oil, it needs more saturation time, not more force
Time expectation: Full takedown of mid-back length box braids takes 2-4 hours when done properly. Rushing this process is the primary cause of takedown breakage.
The Detangle-Before-Water Rule
This is the most important technical principle of braid removal, and the one most commonly violated.
Why water before detangling causes damage: When the matted dirt bulb contacts water, the hair strands swell (cortex absorbs water and expands 14-18% in diameter). Swollen strands press more tightly against each other within the mat, converting a loose tangle into a compressed, locked knot. Once wet-locked, the knot cannot be separated without force, and force means breakage.
The correct sequence:
- Oil saturation (dry hair)
- Finger detangling (dry hair, oil-saturated)
- Wide-tooth comb pass (dry hair, once finger detangling is complete)
- First water contact. Shampoo wash (only after all tangles are removed)
The exception: If the dirt bulb is extremely compacted and oil saturation alone isn’t providing enough slip, you can lightly mist the area with a water-and-conditioner mixture (2:1 ratio). This provides additional slip without the full-saturation swelling that water alone creates.
Wide-Tooth Comb for Post-Braid Detangling
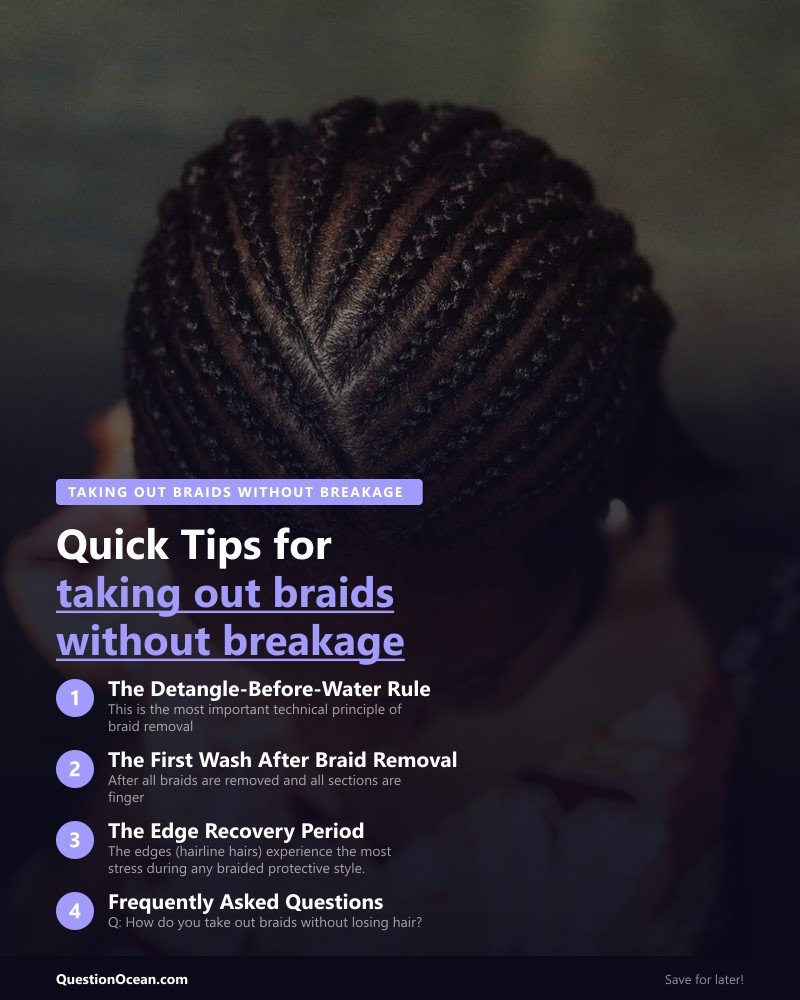
The First Wash After Braid Removal
After all braids are removed and all sections are finger-detangled and combed through, the first wash serves as a deep cleansing reset.
Post-Braid Wash Protocol
- Pre-poo with conditioner: Apply a thick conditioner to all hair before shampooing. This provides additional slip during the wash and protects strands from the stripping effect of the clarifying shampoo
- Clarifying shampoo wash: Use a sulfate-containing clarifying shampoo (this is one of the few times sulfates are recommended) to remove 6-8 weeks of product buildup, sebum accumulation, and residual braiding product
- Deep condition for 15-20 minutes: The hair has been under tension and without regular conditioning for weeks. A protein-enriched deep conditioner helps restore structural integrity
- Detangle gently in the shower with conditioner still in, using a wide-tooth comb from ends to roots
- Rinse, apply leave-in conditioner, and style gently, avoid tight styles for 1-2 weeks to allow the follicles to recover from the installation period
For detangling tools designed for natural hair types, see this resource on detangling brushes for 4C hair.
The Edge Recovery Period
The edges (hairline hairs) experience the most stress during any braided protective style. After braid removal, edges need an intentional recovery period before the next installation.
Edge recovery protocol (1-2 weeks):
- No tight hairstyles at the hairline
- Apply lightweight oil (jojoba, sweet almond) to the edges nightly
- Avoid edge control products that require slicking or pressing
- Sleep with a silk bonnet to prevent cotton friction on the recovering edges
- Assess edge density before the next installation — if visible thinning has occurred, extend the rest period to 3-4 weeks
For edge styling that minimizes traction, see our edge brush and baby hair guide. For general 4C hair care between installations, this guide on caring for 4C hair provides additional protocols.
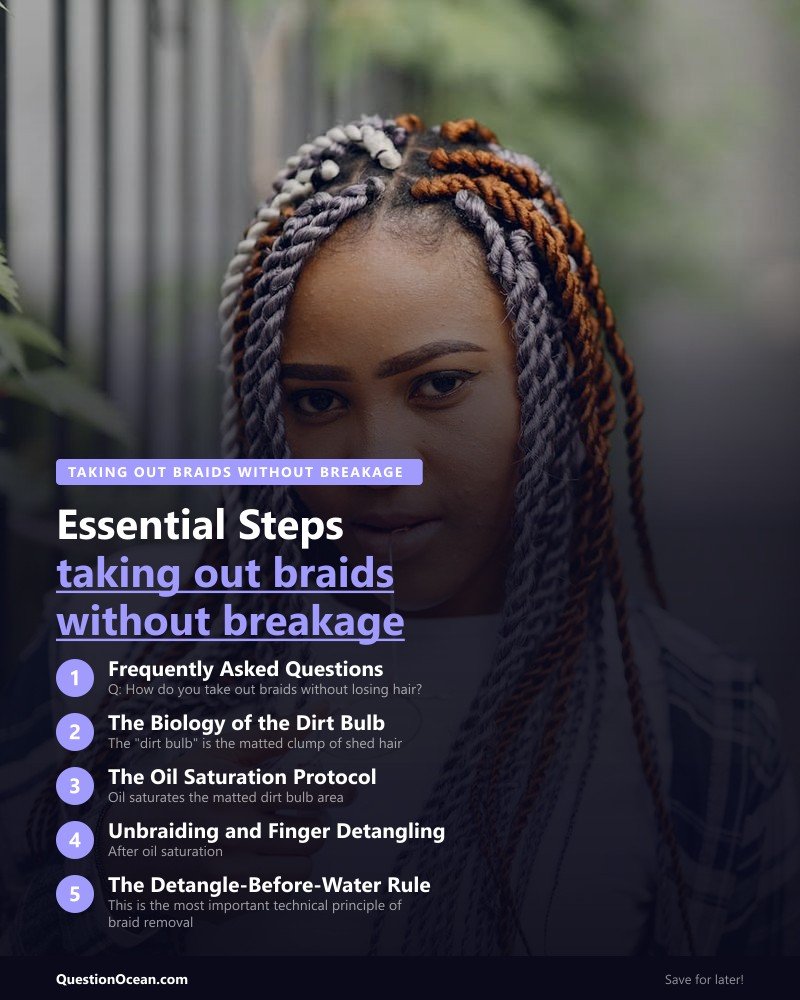
Frequently Asked Questions
Q: How do you take out braids without losing hair? A: Saturate each braid’s root zone with oil, wait 10-15 minutes, unravel from the tip upward, finger-detangle the dirt bulb while the hair is dry and oily, then wash only after all tangles are removed. Never wet the hair before detangling.
Q: Why is there so much hair when I take out braids? A: The accumulated shed hair (50-100 strands per day over 6-8 weeks = 2,100-4,200 strands) collects inside the braid structure instead of falling away naturally. The volume looks alarming but represents normal shedding. Not braid-caused hair loss.
Q: How long does it take to take out braids safely? A: 2-4 hours for mid-back length box braids when done properly with oil saturation and careful detangling. Rushing the process is the primary cause of breakage. Budget a full afternoon or evening.
Q: Should I wash my hair before or after taking out braids? A: Always after. Washing before detangling causes water-swollen strands to lock tighter in the matted dirt bulb, creating knots that require force (and breakage) to remove. Detangle fully while dry and oily, then wash.
Q: What oil is best for taking out braids? A: Coconut oil (warmed to liquid) provides the best slip for detangling matted hair. Olive oil is a close second. Commercial detangling oils with added silicone provide extra slip for extremely matted sections. Use generously, 1-2 tablespoons per section.
Taking out braids without breakage is a patience exercise built on three non-negotiable steps: oil saturation that creates slip between matted strands, finger detangling that separates the dirt bulb without force, and the absolute rule of completing all detangling before any water touches the hair. Respect the sequence and the 2-4 hour time investment, and the transition between protective styles preserves every strand the installation was designed to protect.