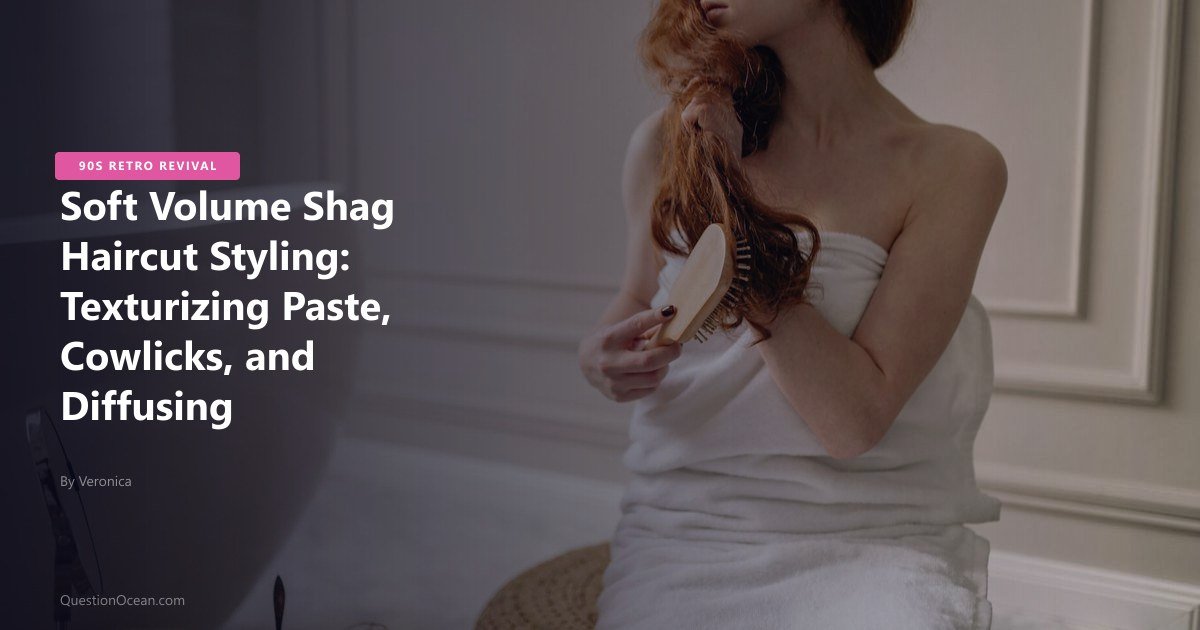
The shag haircut is the most divisive trend in the 90s revival: styled correctly, it’s a face-framing, textured, effortlessly modern cut with movement and dimension. Styled incorrectly, or cut without precision: it becomes a mullet. Soft volume shag haircut styling requires three specific techniques: texturizing paste applied with a pinching method (never raked through), hover diffusing for natural movement without puffiness, and strategic cowlick management that directs the heavy front layers into face-framing waves rather than eye-obstructing curtains.
This guide provides the exact product layering sequence, diffusing protocol, and cowlick solutions that transform the modern shag from a “just rolled out of bed” disaster into the editorial, lived-in texture it’s supposed to be.
The Modern Shag Architecture: Why It’s Not a Mullet
The 2026 soft volume shag differs from the original 70s/90s shag in one critical architectural feature: weight distribution through the back. The original shag tapered sharply at the back, creating the “business in the front, party in the back” silhouette that reads as a mullet to modern eyes.
The 2026 version maintains length and weight through the back while concentrating layering at the front, crown, and sides. The result: face-framing movement and crown volume without the rear taper that pushes the cut into mullet territory.
What to Tell Your Stylist
- “I want internal layers at the crown for volume and face-framing layers, but I want to keep the length and weight through the back perimeter”
- “Heavy curtain bangs that I can part in the center or push to the side, not blunt fringe”
- “Razored ends for texture, not blunt-cut ends”
- “The longest layers should match or nearly match the back perimeter length”
If you already have the cut: the styling techniques below work with any shag architecture, from the aggressively layered 70s version to the more reserved 2026 interpretation.
Product Layering for Soft Volume Shag Haircut Styling
The shag’s layered architecture requires a multi-product approach that addresses three different hair zones: root volume, mid-shaft texture, and end definition.
Step 1: Root Lifting Mousse (Applied to Damp Hair)
After washing, towel-blot hair to approximately 70-80% damp. Apply a golf-ball-sized amount of lightweight volumizing mousse to the root zone only: focusing on the crown and the part line.
Why mousse at the roots: The shag’s shorter crown layers need lift to create the signature volume dome. Without root product, these layers lie flat against the head, eliminating the dimensional difference between the shorter crown and longer back.
Step 2: Texturizing Paste (Applied After Drying)
Texturizing paste is the defining product for soft volume shag haircut styling. It provides matte, piecey separation that creates visible individual layers. The hallmark of the styled shag.
The pinching application method:
- Scoop a pea-sized amount of matte texturizing paste onto fingertips
- Rub between thumb and fingertips to warm and thin the product
- Pinch individual strand groups at the mid-shaft and ends. Press the strands between thumb and index finger and slide outward toward the tips
- Focus on the face-framing layers and the visible top layers at the crown
- Do NOT rake fingers through the hair, raking distributes product too evenly, eliminating the piecey separation that defines the shag
Why pinching works better than raking: Raking coats every strand equally, producing a uniform texture that looks product-heavy. Pinching selectively coats visible strand groups while leaving interior sections untouched, creating the dimensional contrast (textured sections next to smooth sections) that reads as natural, lived-in movement.
Product recommendations:
- Bumble and Bumble Sumotech ($30/50ml), the professional standard for invisible, matte, piecey definition. Available at Sephora (US/UK/CA).
- Kevin Murphy Free.Hold ($29/30g), medium-hold paste with a dry, matte finish. Available at salon retailers (US/UK/CA).
- Budget: Garnier Fructis Style Surfer Hair ($4/100ml): adequate matte texture at a fraction of the prestige price.
Step 3: Anti-Frizz Micro-Serum (Applied Last)
After texturizing paste creates the piecey definition, 1-2 drops of a lightweight anti-frizz serum pressed onto the surface (not through) the outer layers adds a subtle sheen that prevents the matte paste from making the hair look too dry and chalky.
Texturizing Paste. Matte finish for shag styling
Hover Diffusing for Shag Movement
The shag’s layered structure responds poorly to standard blow-drying with a concentrator nozzle. The concentrated airstream separates the layers too aggressively, creating visible layer lines rather than blended movement.
Hover diffusing. Holding the diffuser 2-3 inches from the surface rather than pressing it against the head — provides the controlled, dispersed airflow that shag layers need.
Diffusing Protocol for the Shag
- Apply mousse to damp roots (Step 1 above)
- Flip hair upside down for maximum root lift
- Set dryer to medium heat, low speed (high speed disrupts layer formation)
- Hold diffuser 2-3 inches from the hair, moving slowly in a circular pattern
- Diffuse for 8-12 minutes until approximately 80% dry
- Flip hair back upright and continue diffusing the crown and face-framing sections from above for 3-5 minutes
- Apply the cold shot for 2 minutes to seal the cuticle and lock the volume
- Allow the remaining 15-20% moisture to air dry naturally (5-10 minutes)
- Apply texturizing paste using the pinching method (Step 2 above)
The upside-down phase is critical for the shag, it lifts the shorter crown layers away from the scalp, creating the volume dome that separates a styled shag from an unstyled one. Without the upside-down diffusing, the crown lies flat and the cut reads as unintentional.
Managing Cowlicks in Heavy Shag Bangs
The soft volume shag’s curtain bangs sit directly in the cowlick danger zone. The front-center hairline where most people have one or two growth pattern spirals. On a blowout or flat-ironed style, cowlicks are easily directed with heat. On the diffused, air-dried shag, cowlicks spring back to their natural direction and split the bangs into awkward, asymmetric sections.
Cowlick Solution 1: The Directional Pin-Clip
Immediately after washing, while the bangs are still soaking wet, clip the cowlick area flat in the desired direction using a metal duckbill clip. The clip forces wet hair to dry in the corrected position, setting hydrogen bonds against the cowlick’s natural growth pattern.
Leave the clip in for the first 15-20 minutes of drying, then remove and continue normal diffusing. The bonds set during this window will maintain the corrected direction for 8-12 hours.
Cowlick Solution 2: The Cross-Part Reset
Part the bangs in the opposite direction of the cowlick’s natural split for the first 10 minutes of drying. Then switch to the correct part. This “confuses” the growth pattern by breaking the cowlick’s usual directional pull, producing a more neutral root direction that’s easier to style into the desired curtain bang shape.
Cowlick Solution 3: Root Volumizing Powder at the Cowlick
Apply a small amount of volumizing powder directly at the cowlick root. The powder’s grit prevents the hair from falling into the cowlick’s usual pattern by creating friction that holds the root in the corrected position. See our retro root lift guide for powder application technique.
Cowlick Solution 4: The Round Brush Override
For stubborn cowlicks that resist clips and powder, a 33mm round brush with a blow dryer provides the strongest directional control. Place the brush at the cowlick root zone and blow dry in the opposite direction of the natural growth pattern for 30 seconds, forcing the hair to lift against its default fall.
Then immediately switch to drying in the desired direction for another 20 seconds. This two-direction approach confuses the cowlick’s muscle memory at the root, leaving the hair in a neutral position that accepts styling direction.
After drying, apply a pea-sized amount of matte texturizing paste (Hanz de Fuko Claymation, $23) to fingertips and press directly into the cowlick root zone. The paste anchors the corrected direction for 10-12 hours without visible product buildup.
Avoiding the Mullet: Styling Adjustments
If your shag cut has more aggressive rear tapering than intended, or if you’re growing out heavy layers, these styling adjustments prevent the mullet read:
1. Keep the back perimeter smooth. Apply a small amount of smoothing serum to the back sections only, the textured, piecey look should be concentrated at the front, crown, and sides. A smooth back reads as weight and length; a textured back reads as mullet.
2. Direct face-framing layers outward. When diffusing the side sections, cup them in the diffuser and push them away from the face. Inward-falling face-framing layers create a bowl-cut effect that emphasizes the short-long contrast of a mullet.
3. Maintain volume at the crown. The crown volume bridge connects the short front layers to the long back. Without crown volume, there’s a visible “cliff” between front and back that screams mullet. Root mousse, upside-down diffusing, and the pin-clip technique all maintain this critical volume bridge.
For related shag-compatible styling, see our face-framing pieces with long layers guide. For the broader retro trend context, see our 90s hair trends pillar.
Frequently Asked Questions
Q: How do you style a soft volume shag? A: Soft volume shag haircut styling uses three products in sequence: volumizing mousse at the roots (applied to damp hair), followed by hover diffusing upside down, then texturizing paste pinched through the face-framing layers and ends for piecey definition. The pinching method. Not raking, creates the dimensional separation that defines the look.
Q: What’s the difference between a shag and a mullet? A: The 2026 soft shag maintains length and weight through the back perimeter while concentrating layers at the front and crown. A mullet tapers sharply at the back, creating a visible short-front/long-back contrast. The styling adjustment: keep the back smooth and maintain crown volume to bridge the short and long sections.
Q: What products work best for a shag haircut? A: A lightweight mousse at the roots for volume, a matte texturizing paste (Bumble and Bumble Sumotech or Garnier Surfer Hair) for piecey mid-shaft definition, and a micro-drop of anti-frizz serum for surface sheen. Total product cost: $10-60 depending on prestige vs. drugstore choices.
Q: How do I manage cowlicks in shag bangs? A: Three methods work: clip the cowlick flat with a duckbill clip for the first 15-20 minutes of drying, cross-part in the opposite direction for 10 minutes before switching, or apply volumizing powder directly at the cowlick root for directional grip.
Q: Can I air dry a shag haircut instead of diffusing? A: Yes, but air drying produces flatter crown volume than diffusing. Use the scrunch-and-clip method (scrunching sections upward, then clipping roots with duckbill clips for 20-30 minutes) to compensate for the lack of upside-down diffusing volume.
Q: Is the shag haircut hard to maintain? A: The shag requires trimming every 6-8 weeks to maintain the layered architecture. Between trims, the soft volume shag haircut styling routine (mousse, diffuse, paste) takes 15-20 minutes, comparable to a standard blowout but with a more relaxed, textured result.
Soft volume shag haircut styling transforms the most polarizing retro cut into a consistently editorial, modern look. The three-product system (root mousse, hover diffusing, texturizing paste), combined with strategic cowlick management and the anti-mullet back-smoothing technique, produces the lived-in, dimensional texture that makes the 2026 shag the most versatile trend cut of the 90s revival.