
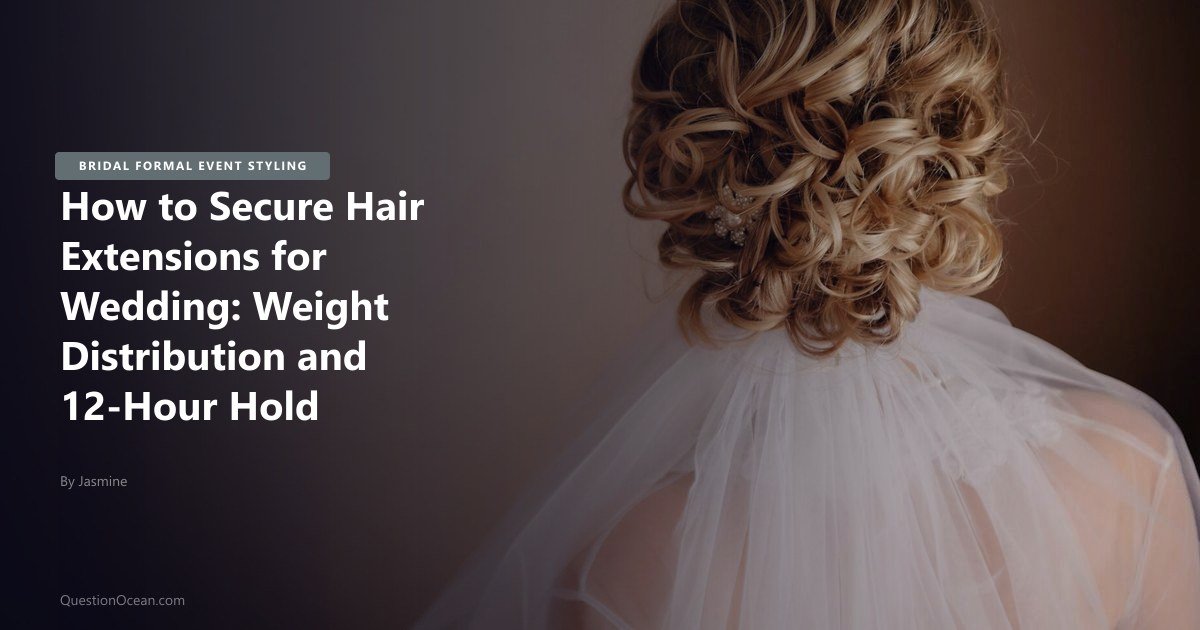
Hair extensions transform bridal styling possibilities, adding length for cascading curls, volume for fuller updos, or both for cascading half-up styles that require more hair than the bride naturally possesses. The challenge is that extensions add significant weight to the hairstyle, and that weight must be distributed and secured in ways that survive 12+ hours of ceremony, photographs, dinner, and dancing without slipping, sagging, or showing visible tracks. How to secure hair extensions for wedding requires three engineering principles: distributing the extension weight across multiple anchor points rather than concentrating it on one or two clips, reinforcing every clip-in extension with bobby pins beyond its built-in mechanism, and matching the extension installation to the planned hairstyle structure rather than adding extensions as an afterthought.
This guide covers the weight distribution physics of extension installation, the differences between clip-in and sew-in options for bridal use, and the specific reinforcement protocols that turn temporary clip-in extensions into all-day-secure bridal styling.
For the complete bridal hair framework, see our pillar guide to bridal hair trends 2026.
The Weight Distribution Physics
A full set of clip-in hair extensions weighs 3-8 ounces (85-225 grams) depending on length and density. This weight pulls down on the natural hair through gravity throughout the day, gradually loosening clip mechanisms and shifting the extension positions.
The single-anchor failure mode: When extension weight is concentrated on one or two clip anchor points, those anchor points bear the full force of gravity over many hours. The clips gradually loosen, slip backward, and eventually pull free entirely. Usually visibly during a key moment.
The distributed-anchor solution: Spreading the extension weight across 6-10 clip anchor points reduces the load on each individual clip by 70-85%. No single clip bears enough weight to slip, and the overall installation stays secure throughout the event.
The weight distribution math:
| Total Extension Weight | 2 Clip Anchors | 4 Clip Anchors | 8 Clip Anchors |
|---|---|---|---|
| 4 oz total | 2 oz per clip | 1 oz per clip | 0.5 oz per clip |
| 6 oz total | 3 oz per clip | 1.5 oz per clip | 0.75 oz per clip |
| 8 oz total | 4 oz per clip | 2 oz per clip | 1 oz per clip |
The threshold: Individual clips begin slipping when they bear more than 1.5 ounces of weight for extended periods. The 8-anchor distribution keeps every clip below this threshold even with maximum-density extensions.
Clip-In vs Sew-In Extensions for Bridal Use
The two main extension categories for bridal applications have different durability characteristics and use cases.
Clip-In Extensions
What they are: Wefts of hair with metal clips sewn along the top edge. The clips snap closed onto the natural hair to attach the extension.
Pros:
- Same-day installation (no advance appointment needed)
- Removable after the wedding (no commitment)
- Reusable for future events
- Lower cost ($60-300 for a quality set)
- DIY installation possible with practice
Cons:
- Lower security than permanent extensions
- Visible if not installed correctly
- Maximum 8-12 hours of secure wear before needing adjustment
- Requires skilled placement to look natural
Best for: Brides who want extensions only for the wedding day, brides on tighter budgets, brides who want flexibility to remove extensions for the reception.
Sew-In Extensions
What they are: Wefts of hair sewn directly onto cornrows braided across the natural hair, creating a semi-permanent installation.
Pros:
- Maximum security (essentially won’t slip or fall out)
- Most natural-looking installation when done well
- Lasts 6-8 weeks (can be installed weeks before the wedding for hair adjustment time)
- No mid-event adjustment needed
Cons:
- Requires professional installation 1-7 days before the wedding
- Higher cost ($200-600 plus extension price)
- Tension on the natural hair during installation can cause strain
- Cannot be easily removed before the reception
Best for: Brides who want maximum security and the most natural installation, brides whose extensions will be a major styling element, brides whose hairstyle requires the absolute integration that only sew-in provides.
Tape-In Extensions (Middle Ground)
What they are: Wefts of hair with adhesive tape strips that sandwich sections of natural hair.
Pros:
- More secure than clip-ins, less invasive than sew-in
- Lasts 6-8 weeks
- Can be installed by professionals quickly
Cons:
- Adhesive can show with certain hairstyles
- Removal requires special solvent
- Lower hold than sew-in for very heavy installations
Best for: Brides wanting medium-security extensions without the full sew-in commitment.
Clip In Hair Extensions Bridal Wedding
Clip-In Installation Protocol for Bridal Security
Clip-in extensions can deliver bridal-grade security when installed with the proper technique. The standard “open and snap” approach is insufficient for 12-hour wear.
Pre-Installation Preparation
- Wash and dry the natural hair the night before, not the day of (day-old hair grips clips better than freshly washed hair)
- Apply texturizing spray to the roots in the areas where clips will be placed (texture provides additional grip)
- Avoid conditioner on the roots for 24 hours before installation (conditioner makes hair slippery and reduces clip grip)
The Installation Sequence
Step 1. Plan the placement zones: Identify where the extensions will be placed based on the planned hairstyle. For bridal updos, extensions should be placed where they will be incorporated into the structural pinning. For half-up or down styles, extensions should be placed in horizontal rows from the nape upward.
Step 2, Section the natural hair: Create horizontal partings using the end of a comb. Clip the hair above each section out of the way.
Step 3: Tease the section root for grip: Lightly backcomb (tease) the roots of each section before clipping in the extension. The teased texture provides grip points for the clip teeth.
Step 4, Mist with hairspray: Lightly mist the teased roots with strong-hold hairspray. Allow 30 seconds to set.
Step 5: Snap the clips closed: Open the extension clips, position them at the root of the teased section, and snap closed firmly. Each clip should grip both the teased natural hair and the underlying scalp section.
Step 6, Reinforce with bobby pins: Insert two crossed bobby pins through the clip area, anchoring the clip to additional hair sections. This is the critical step most home users skip.
Step 7 — Repeat for all sections: Work from the nape upward, sectioning and installing each row before moving up.
Step 8, Final hairspray application: Once all extensions are installed, mist the entire installation with strong-hold spray to lock the clips and prevent any movement during styling.
For the strong-hold sprays best suited to extension securing, see our strong-hold hairsprays brush out guide.
Hair Extension Installation Tools Kit
Mid-Event Reinforcement Protocol
Even properly installed extensions may need mid-event reinforcement for very long wedding days. Build the reinforcement opportunities into the wedding timeline.
Scheduled Touch-Up Windows
After ceremony, before reception: A 10-15 minute touch-up window between the ceremony end and the reception start is typical for most weddings. Use this window to:
- Check each extension clip for tightness
- Reinforce any clips that have loosened
- Add bobby pins if any extensions have shifted position
- Refresh hairspray over the installation area
After dinner, before dancing: A second touch-up window after the dinner service allows for another reinforcement pass before the most physically active part of the evening.
The Touch-Up Toolkit
The touch-up kit for extension wearers includes:
- 10-15 spare bobby pins (matching hair color)
- Travel-size strong-hold hairspray
- Small mirror
- Texturizing spray (for re-establishing root grip if needed)
- Comb or pick
Critical: Practice mid-event reinforcement at home before the wedding. The first time you tighten extension clips should not be in a venue restroom 5 minutes before reception entrance.
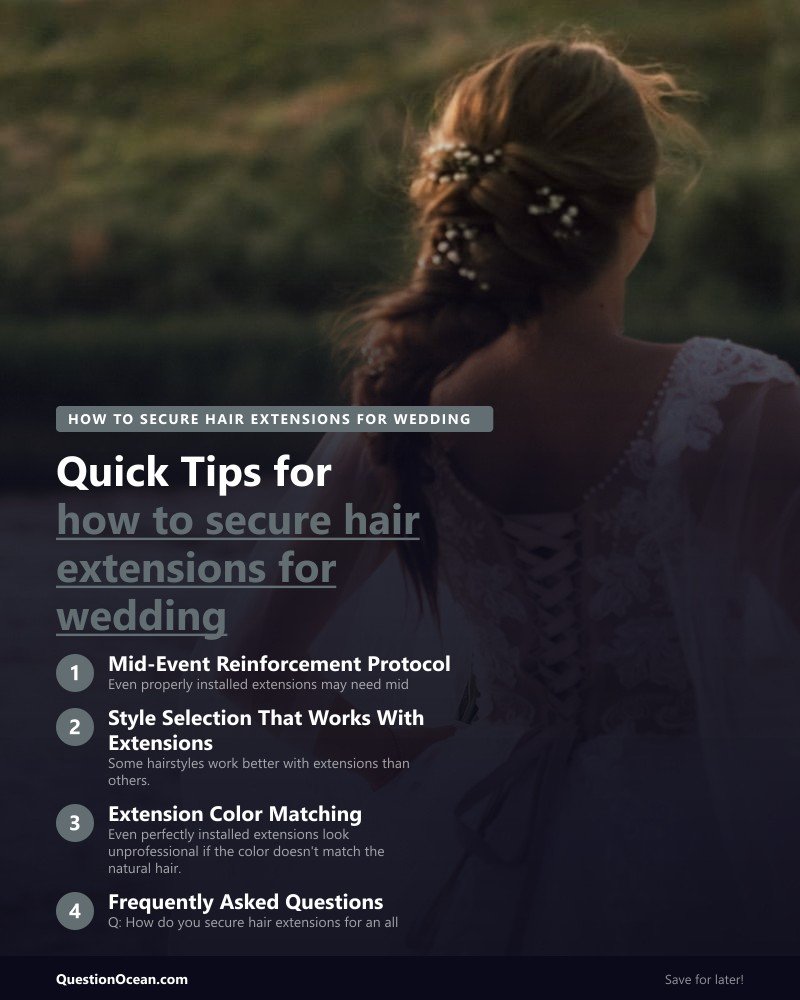
Style Selection That Works With Extensions
Some hairstyles work better with extensions than others. The right style choice makes the installation invisible and the security stronger.
Excellent for Extensions
- Half-up styles: The pinned upper section hides the upper extension clips, while the loose lower section showcases the added length and volume
- Low chignons with face-framing: The chignon structure incorporates extension clips into the pinned base, while loose face-framing pieces use extensions for fullness
- Cascade curls: Pure down styles benefit dramatically from extensions for length and volume
Challenging for Extensions
- Sleek high ponytails: Hair pulled tight against the scalp can reveal extension clips
- Extreme updos: Very tall, complex updos require careful planning to incorporate extensions without visible track lines
- Center-parted minimalist styles: The exposed scalp at the part can reveal the top of front-placed extensions
For accessory styling that complements extension volume, see our pearl accessories formal updos guide.
Extension Color Matching
Even perfectly installed extensions look unprofessional if the color doesn’t match the natural hair.
The matching priorities:
- Match the ends, not the roots, extensions blend with the visible length, not the scalp area
- Choose multi-tonal extensions if the natural hair has dimension or highlights
- Account for outdoor lighting: extensions matched in indoor lighting may look different outdoors
- Bring a sample of natural hair to the extension purchase, match by direct comparison rather than memory
For colored or highlighted hair: Custom-colored extensions from a salon ensure perfect matching. Off-the-shelf extensions rarely match complex color treatments perfectly.
Frequently Asked Questions
Q: How do you secure hair extensions for an all-day wedding? A: Distribute the extension weight across 6-10 clip anchor points (not 2-4), reinforce every clip-in extension with crossed bobby pins beyond its built-in mechanism, install on day-old (not freshly washed) hair, tease the root area before each clip placement for grip, and apply strong-hold hairspray over the entire installation. Schedule mid-event touch-up windows for reinforcement.
Q: Are clip-in or sew-in extensions better for weddings? A: Clip-in extensions are best for brides who want extensions only for the wedding day and prefer flexibility, lower cost, and DIY installation capability. Sew-in extensions are best for brides who want maximum security and the most natural integration, are willing to commit to 6-8 weeks of wear, and have a professional stylist install them 1-7 days before the wedding.
Q: How long do clip-in extensions stay in? A: Properly installed clip-ins with reinforced bobby pins stay in for 12+ hours of wedding wear. Without reinforcement, basic clip installation typically lasts 6-8 hours before requiring adjustment. The 6-10 anchor distribution method significantly extends secure wear time.
Q: Will extensions damage my natural hair? A: Properly installed clip-in extensions cause minimal damage with occasional use (weddings, events). Daily clip-in wear can cause mild traction stress over time. Sew-in and tape-in extensions can cause more strain if installed too tightly or worn for extended periods. Allow recovery time between extension installations.
Q: How much do bridal hair extensions cost? A: Quality clip-in human hair extensions: $100-400 for a full set. Sew-in extensions plus installation: $400-900. Tape-in extensions plus installation: $300-700. Professional installation of clip-ins on the wedding day: $50-150 in addition to the extension cost.
Q: Can I install clip-in extensions myself for my wedding? A: Yes, with practice. Buy your extensions 4-6 weeks before the wedding and practice installation 5-10 times before the wedding day. The first attempt typically takes 30-45 minutes; with practice, this drops to 15-20 minutes. If after practice your installation looks visible or feels insecure, hire a professional stylist for the wedding day installation.
How to secure hair extensions for wedding requires understanding the weight distribution physics, choosing between clip-in flexibility and sew-in security based on your priorities, and reinforcing every installation with the bobby pin technique that most home users skip. Whether you DIY the installation or hire a professional, the goal is the same: extensions that look natural in every photograph and stay perfectly secure from the first ceremony moment to the last dance, without becoming a source of mid-event stress.