
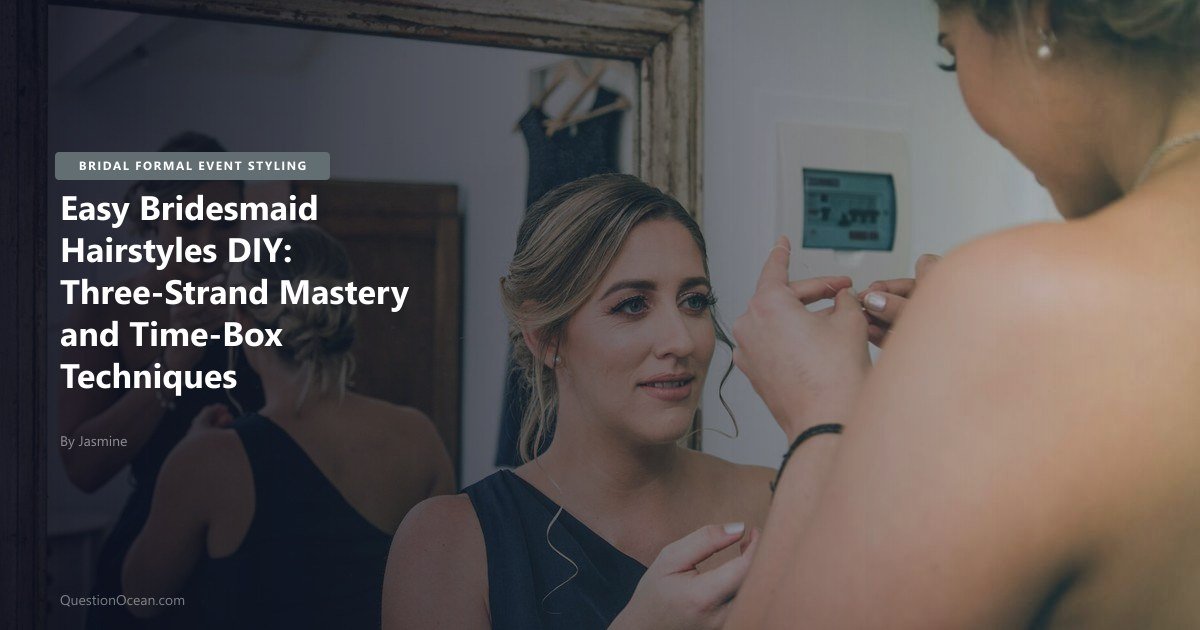
The economic reality of being a bridesmaid in 2026 is that the dress, the bachelorette party, the gifts, and the travel often add up to $800-2000 per wedding, and many bridesmaids understandably opt out of the additional $80-200 cost of professional hair styling on the wedding day. The challenge is producing a polished, photo-ready hairstyle on yourself, in a getting-ready suite full of distractions, with 45 minutes or less between hair touch-ups and the start of the ceremony. Easy bridesmaid hairstyles DIY require mastering one foundational technique, the three-strand braid, and applying it to four template styles that can be executed in 30-45 minutes by anyone with basic styling skills.
This guide covers the three-strand braid mastery that anchors most DIY bridesmaid styles, the four most reliable template hairstyles, and the time-box approach that prevents rushed mistakes during the morning of a high-stakes event.
For the complete bridal hair framework, see our pillar guide to bridal hair trends 2026.
Why the Three-Strand Braid Is the DIY Foundation
The three-strand braid is the foundation of approximately 70% of DIY-friendly bridesmaid hairstyles. Mastering it unlocks dozens of style variations without requiring additional skill development.
Why this specific technique:
- Self-executable: Unlike French braids or fishtail braids, the basic three-strand braid can be done on yourself by feel without seeing the back of your head
- Forgiving: Small inconsistencies in tension or section size are not visible in the final result
- Foundational: Once you can three-strand braid reliably, you can build pulled-out updos, halo braids, half-up styles, and braided buns
- Texture-friendly: Works on every hair texture from straight to coily, with minor technique adjustments
The mastery indicators:
You have mastered the three-strand braid for DIY bridesmaid styling when you can:
- Braid a smooth, even braid on the back of your head without a mirror
- Maintain consistent tension throughout the braid length
- Stop and resume the braid without losing the section pattern
- “Pancake” the braid (gently pull sections wider for a fuller look) without unraveling the structure
Practice protocol: Two weeks before the wedding, practice three-strand braiding on yourself for 10 minutes per day. By the wedding day, the technique should be muscle memory.
The Four Template DIY Bridesmaid Hairstyles
Template 1: The Pancaked Half-Up Braid
A 25-minute style that works for any hair length and any face shape. The most universally flattering option for bridesmaid groups.
Steps:
- Brush hair smooth and apply a light styling cream for slip
- Take a section of hair from each temple, gathering at the crown of the head
- Braid the gathered section into a three-strand braid for 4-5 inches
- Secure with a clear elastic
- Gently pull (pancake) the braid sections wider to create fullness
- Tuck the elastic under the surrounding hair and secure with two bobby pins
- Spray with light-hold finishing spray
Time investment: 20-25 minutes for first execution; 12-15 minutes once practiced.
Template 2: The Low Braided Bun
A 30-minute style that works for medium to long hair. Polished enough for formal weddings, soft enough for outdoor or rustic venues.
Steps:
- Brush hair smooth and gather into a low ponytail at the nape of the neck, secured with an elastic
- Three-strand braid the entire ponytail length
- Pancake the braid for fullness
- Coil the braid into a circular bun shape at the base of the ponytail
- Secure the bun with 6-8 bobby pins inserted at angles around the perimeter
- Pull a few face-framing pieces loose at the temples
- Spray with strong-hold finishing spray
Time investment: 25-30 minutes for first execution; 18-22 minutes once practiced.
For analysis of strong-hold finishing sprays that maintain DIY styles all day, see our strong-hold hairsprays brush out guide.
Template 3: The Side-Swept Soft Wave
A 35-minute style that works for long hair (shoulder-length or longer). The most “professional-looking” of the DIY templates and the closest to a salon blowout finish.
Steps:
- Apply heat protectant and a curl-enhancing styling cream to damp hair
- Blow-dry with a round brush, finishing with cool air to set the smooth shape
- Use a 1.25-inch curling wand to create loose waves, curling all sections away from the face
- Brush through the curls gently with a paddle brush to soften them
- Create a deep side part on your stronger side
- Gather the hair to the opposite side of the part, pinning the back lightly to encourage the side-swept shape
- Spray with strong-hold finishing spray
Time investment: 30-40 minutes for first execution; 25-30 minutes once practiced.
Template 4: The Twisted Back Half-Up
A 25-minute style that works for any hair length. The “easy elegant” option that requires minimal styling skill but produces sophisticated results.
Steps:
- Brush hair smooth and apply a light styling cream
- Take a 1-inch section from each temple
- Twist each section away from the face
- Cross the two twisted sections at the back of the head
- Secure where they cross with two crossed bobby pins
- Add a small decorative pearl pin or hair accessory over the bobby pins to hide them
- Spray with light-hold finishing spray
Time investment: 20-25 minutes for first execution; 12-15 minutes once practiced.
Hair Elastics Bulk Wedding Bridal
The Time-Box Method for DIY Wedding-Day Styling
The wedding morning is full of unexpected delays, distractions, and emotional moments. DIY bridesmaid hair must be planned with time-boxes that account for chaos.
The recommended time allocation:
| Time Block | Activity | Purpose |
|---|---|---|
| 90 minutes before ceremony | Wash, condition, dry | Foundation prep with calm focus |
| 60 minutes before ceremony | Begin styling | Main styling block with full attention |
| 30 minutes before ceremony | Style complete, photos OK | Buffer for unexpected issues |
| 20 minutes before ceremony | Last touch-ups | Spray, smooth flyaways, finalize |
| 15 minutes before ceremony | Hands off hair | No more touching: let the style settle |
The non-negotiable rule: Stop styling 20 minutes before the ceremony begins, even if the result isn’t quite perfect. Continued fussing during the final 20 minutes typically makes the style worse, not better. Settle for “very good” rather than chasing “perfect.”
Tools and Products: The DIY Bridesmaid Kit
The DIY bridesmaid kit fits in a small toiletry bag and contains everything needed for execution and touch-ups.
Essential tools:
- Round brush (2-inch barrel for medium hair, 2.5-inch for long hair)
- Paddle brush
- Curling wand (1-1.25 inch barrel)
- Hand mirror plus a wall mirror for back-of-head visibility
- Sectioning clips (4-6 alligator clips)
Essential products:
- Heat protectant spray
- Styling cream or curl enhancer
- Strong-hold hairspray (for the secured base)
- Light-hold finishing spray (for the surface)
- Anti-frizz serum
Essential accessories:
- Clear hair elastics (small)
- Bobby pins (matching hair color, 30+ pieces)
- Decorative hair pins or clips matching the wedding aesthetic
- Spare clear elastics (always pack extras: they break)
Practice Schedule Before the Wedding
DIY bridesmaid hair requires practice. Not improvisation. Schedule three trial runs before the wedding day:
3 weeks before: First trial of your chosen template style. Allow 60+ minutes and don’t worry about speed. Focus on technique and result quality.
2 weeks before: Second trial with a target time of 45 minutes. Take photos of the result from multiple angles to assess how it looks from all sides.
1 week before: Third trial with a target time of 30-35 minutes. This is your “wedding-day pace” rehearsal. The result should look photo-ready in this timeframe, or your chosen style is too ambitious for your skill level: substitute a simpler template.
For face shape considerations when choosing your template, see our updo vs down style face shape guide.
When to Abandon DIY and Hire a Stylist
Honest self-assessment matters. Some situations are better served by paying for professional hair styling rather than struggling with DIY.
Signs you should hire a stylist:
- After 3 practice attempts, you cannot execute your chosen style in under 60 minutes
- The practice results don’t look photo-ready when assessed honestly
- You will be in formal wedding party photos that will be widely shared and printed
- The wedding has a tight ceremony schedule that doesn’t allow buffer time
- You typically panic or get flustered under time pressure
The compromise option: Hire a stylist for the bride only and DIY for bridesmaids. This is the most common 2026 arrangement and provides the bride with guaranteed professional results while keeping bridesmaid costs manageable.
Frequently Asked Questions
Q: What is the easiest hairstyle for a bridesmaid to do herself? A: The pancaked half-up braid is the most beginner-friendly DIY bridesmaid style. It requires only basic three-strand braiding skills, takes 20-25 minutes once practiced, and works for any hair length and face shape. The twisted back half-up is the second-easiest option for those uncomfortable with braiding.
Q: How long should DIY bridesmaid hair take? A: Plan for 25-40 minutes of styling time depending on the chosen style, plus a 10-15 minute buffer for unexpected issues. Begin styling 60 minutes before the ceremony and stop fussing 20 minutes before. Practice your chosen style at least 3 times in advance to confirm the time estimate matches your skill level.
Q: Can I do my own bridesmaid hair if I’m not good at styling? A: Yes, with the right template choice. Stick to the simplest options. Twisted back half-up or pancaked half-up braid — and practice 3 times before the wedding day. If after practice attempts the result doesn’t look photo-ready, hire a professional stylist or ask a more skilled friend or family member to help.
Q: What products do I need for DIY bridesmaid hair? A: Heat protectant, styling cream or curl enhancer, strong-hold hairspray, light-hold finishing spray, anti-frizz serum, plus tools (round brush, paddle brush, curling wand, sectioning clips). Total product investment: $50-100. The same kit works for multiple weddings and personal use afterward.
Q: How do I make my DIY bridesmaid hairstyle last all day? A: Use day-old (not freshly washed) hair as the foundation, apply strong-hold hairspray to all secured pin points, finish with a light-hold spray on the surface for flexibility, and pack a touch-up kit with extra bobby pins and finishing spray for mid-event refreshing. The day-old hair foundation is the single most important durability factor.
Q: Is DIY bridesmaid hair appropriate for formal weddings? A: For traditional formal weddings with extensive professional photography, professional styling is generally recommended for the entire wedding party. For modern, casual, or destination weddings, DIY bridesmaid hair is increasingly common and entirely appropriate. Match the hair effort to the wedding’s overall formality level.
Easy bridesmaid hairstyles DIY are achievable for any bridesmaid willing to invest 30-60 minutes of practice in the weeks before the wedding. Master the three-strand braid foundation, choose one of the four template styles based on your hair length and confidence level, and respect the time-box method that prevents wedding-morning panic. The result is a polished, photo-ready style that saves $80-200 in professional fees while still photographing beautifully in every wedding album image.