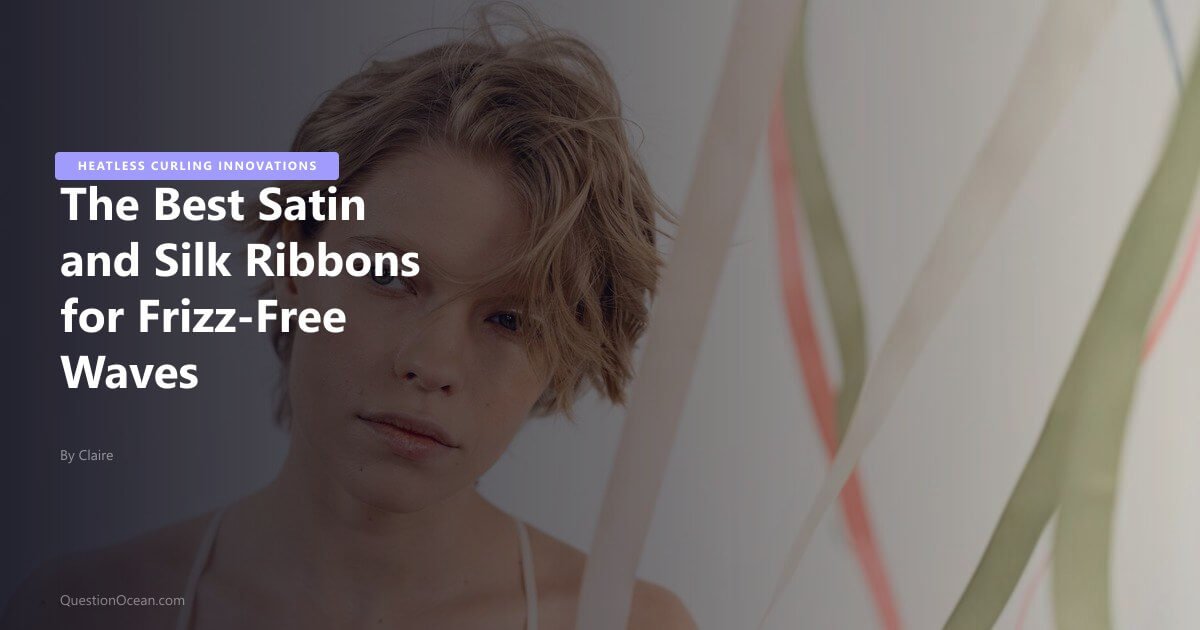
Pure Mulberry silk reduces hair friction by up to 43% compared to cotton wraps, which is exactly why silk ribbon heatless curls produce smoother, longer-lasting waves than any other overnight method. If you have been battling frizzy results, ribbon slippage on layers, or curls that unravel by noon, the problem is almost certainly your material and your wrapping technique rather than your hair.
This guide covers the specific ribbon fabrics that actually protect your cuticle, the Criss-Cross wrapping method that competitors skip entirely, and the anchoring tricks that keep everything locked in while you sleep.
Why Silk and Satin Ribbons Outperform Every Other Heatless Curler
The surface friction of your curling tool determines whether you wake up with defined waves or a frizzy mess. Standard heatless rods, foam rollers, and cotton-based wraps create micro-friction against the hair shaft. That friction lifts the cuticle layer, invites moisture exchange with the air, and produces the puffiness most people blame on their hair texture.
Silk and satin ribbons sit in a different category. Their smooth, tightly-woven surfaces allow hair to glide without snagging, keeping cuticles flat from root to tip. The result is frizz free waves overnight without a single pass of a hot tool.
For a full breakdown of heat-free techniques across every texture, start with our heatless curls for every hair type pillar guide.
Mulberry Silk vs. Charmeuse Satin: The Friction Difference That Matters
Not all “silk” ribbons are the same, and picking the wrong one is the fastest way to get subpar results. Here is how the two main options compare.
Mulberry Silk Ribbons
Mulberry silk is a natural protein fiber with a smooth cuticular surface that mirrors the structure of human hair. That structural similarity means the ribbon and your strands create almost zero friction when wrapped together. Mulberry silk also wicks less moisture than synthetic alternatives, so your hair retains the hydration it needs to hold a curl pattern.
Look for ribbons labeled 19-22 momme weight. Anything lighter feels flimsy and slips off; anything heavier is too stiff to tie comfortably at night.
Charmeuse Satin Ribbons
Charmeuse is a weave style, not a fiber. Most charmeuse satin ribbons sold online are polyester-based. They feel silky and do reduce friction compared to cotton, but the synthetic surface creates slightly more drag than genuine Mulberry silk. For anyone on a budget, charmeuse satin is a solid middle ground. Just know that generic “satin” ribbons without a charmeuse designation often use a looser weave that catches on fine hair and layered ends.
If you want the smoothest possible surface, Mulberry silk wins. If you want affordability with decent performance, charmeuse satin is the move.
100% Mulberry Silk Curling Ribbon Set
The Silk Ribbon Curling Method: Standard U-Shape Wrap (Step by Step)
The standard wrap is the foundation every beginner should learn before moving on to advanced techniques. Here is the basic silk ribbon curling method broken down into clear steps.
- Start with hair that is roughly 90% dry. Wrapping soaking wet hair means the ribbon absorbs excess water, extends drying time, and produces limp waves. Slightly damp hair sets the curl pattern without oversaturating the silk. Our guide on prepping damp hair for heatless styling covers the exact moisture level you want.
- Part your hair down the center and divide each side into two sections (four total).
- Place the center of the ribbon at the crown of your head so it drapes evenly on both sides, forming a U shape.
- Take the first section of hair and begin wrapping it around one side of the ribbon. Wind the hair away from your face, keeping tension consistent but not tight enough to cause discomfort.
- Continue wrapping down to the ends, then secure the tail with a silk scrunchie or small claw clip.
- Repeat on the remaining three sections.
- Sleep on a silk pillowcase or wear a silk bonnet to minimize overnight shifting. Budget-conscious? Check out these budget-friendly silk pillowcases and bonnets.
This method works well for one-length hair. But if you have layers, face-framing pieces, or anything shorter than mid-back length, the standard U-shape wrap has a major weakness: shorter pieces unravel from the ribbon during the night.
That is where the Criss-Cross method comes in.

The Criss-Cross Method: Solving Layer Slippage for Good
The Criss-Cross technique is the single biggest upgrade you can make to your silk ribbon heatless curls routine, and almost no one talks about it. Standard wrapping spirals hair in one direction around the ribbon. Layered hair, especially pieces around the face and crown, does not have enough length to complete a full spiral and gradually loosens overnight.
The Criss-Cross method alternates the direction of each wrap pass, creating an interlocking pattern that grips layered ends without added tension.
How to Do the Criss-Cross Wrap
- Set up the ribbon in the standard U-shape position at the crown.
- Take your first hair section and wrap it once around the ribbon moving away from your face.
- On the next pass, reverse direction and wrap the hair toward your face, crossing over the previous wrap.
- Continue alternating directions with each pass down the length of the section. Each crossover locks the previous wrap in place.
- Secure the tail end with a claw clip (not a hair tie, which dents wet ends).
- Repeat on all remaining sections.
The alternating friction points act like tiny anchors along the entire length of the ribbon. Even two-inch face-framing layers stay locked in place through a full night of tossing and turning.
Who Benefits Most from Criss-Cross
- Anyone with layers shorter than shoulder length
- Fine hair that slips out of standard spiral wraps
- Those with thick, coarse hair that resists holding a single-direction wrap (more texture-specific tips in our heatless curls for thick hair guide)
Claw Clip Anchoring vs. Scrunchie Securing: Which Holds Better?
Scrunchies are the default recommendation across every tutorial, but claw clips are the superior anchoring tool for silk ribbon curls. Here is why.
Scrunchies bunch the tail end of the ribbon and hair together, which can create a crimped section at the tips. They also rely on elastic tension that loosens as you sleep. After six to eight hours, a stretched scrunchie leaves you with partially unwound ends.
Claw clips grip the ribbon and hair flat against the head without elastic. They do not create dents, they do not loosen, and they allow you to secure the ribbon at the scalp as well as the ends. Use a medium claw clip at the crown to anchor the center of the ribbon, and small claw clips at each tail.
Silk Scrunchie and Claw Clip Anchoring Set
For a side-by-side look at other anchoring and wrapping tools, see our RobeCurls vs Sleepy Tie comparison.
How Long to Leave Silk Hair Curlers In
The minimum setting time for silk ribbon heatless curls is six hours, but eight hours is the sweet spot for all-day hold. Anything less than six hours and the curl pattern will not fully set, especially in humidity.
Here is a quick reference:
- Fine hair: 6 hours minimum. Fine strands absorb the curl pattern faster, so you can get away with a shorter window.
- Medium hair: 7-8 hours. This is the standard overnight timeframe that works for most people.
- Thick or coarse hair: 8-10 hours. Dense hair needs more time for the wave pattern to penetrate through the shaft. Starting with 90% dry hair (not 80%, not dripping) is critical here.
If you are a light sleeper or prefer a daytime set, silk ribbons are also ideal for a WFH wrapping session. Put the ribbons in after your morning shower, work from home for six to eight hours, and take them down before an evening event. The soft ribbon sits flat enough to look presentable on video calls, and nobody needs to know your waves are setting while you answer emails.
The 90% Dry Rule: Why Moisture Level Makes or Breaks Your Curls
Starting with hair that is exactly 90% dry is the single most overlooked step in the entire silk ribbon curling method. Too wet and the silk absorbs water, extending dry time to 12+ hours and leaving limp, barely-there waves. Completely dry hair has no moisture to reshape, so the curl pattern simply does not set.
The 90% test is simple. Squeeze a mid-shaft section between your fingers. If your fingers feel cool and very slightly damp but no water transfers, you are at 90%. If you see moisture on your fingers, air dry for another 10-15 minutes.
Apply a lightweight curl cream or mousse at this stage to give the wave pattern extra memory. Avoid heavy oils or serums, which weigh down the curl and leave the ribbon greasy.
Daytime WFH Wrapping: Setting Curls Without Sleeping In Them
You do not have to sleep in silk ribbons to get beautiful waves. Daytime wrapping is an underused strategy that works perfectly for remote workers, stay-at-home parents, or anyone with a six-to-eight-hour block at home.
- Wash and prep hair to 90% dry in the morning.
- Apply a light styling mousse for hold.
- Wrap using either the standard U-shape or the Criss-Cross method.
- Anchor with claw clips for a low-profile look that stays put during daily activities.
- Take the ribbons down in the late afternoon or early evening.
The advantage of daytime setting is temperature. Your hair dries faster in a warm daytime environment compared to a cool bedroom at night. Many people find they get tighter, more defined curls from a daytime set because the hair reaches fully dry status sooner and spends more time in the set position.
Charmeuse Satin Ribbon Hair Curler Kit
How to Keep Overnight Heatless Curls from Falling Out
The number one reason overnight curls fail is not technique; it is friction between the ribbon and your pillow. Even a perfect Criss-Cross wrap will shift on a cotton pillowcase.
Here is how to lock your satin ribbon curls in place all night:
- Use a silk or satin pillowcase. The smooth surface prevents your head from dragging the ribbon as you turn.
- Anchor with claw clips at three points: one at the crown center and one at each tail end.
- Wrap a silk bonnet or scarf loosely over everything. This adds a second layer of protection and keeps all clips and ribbon ends contained.
- Avoid sleeping on your back. Side or stomach sleeping presses the ribbon against the pillow, which can flatten curls on one side. If you are a back sleeper, pineapple the ribbons upward and secure them with a loose claw clip at the top of your head.
Combining these steps means your silk ribbon heatless curls stay intact from bedtime to morning takedown, every single time.
FAQ
Can I reuse silk curling ribbons, or do they wear out?
High-quality Mulberry silk ribbons last six months to a year with proper care. Hand wash them in cool water with a gentle detergent every two to three weeks to remove product buildup. Charmeuse satin ribbons are more durable and can handle machine washing on a delicate cycle inside a mesh bag.
Do silk ribbon curls work on short hair?
Yes, but only if your hair is at least chin length. Anything shorter does not have enough length to complete even one full wrap around the ribbon. For chin-to-shoulder lengths, the Criss-Cross method is essential because it locks shorter pieces in place where a standard wrap would unravel.
What is the difference between satin ribbon curls and silk ribbon curls?
The difference is the material. Satin refers to a weave pattern and is usually made from polyester. Silk is a natural protein fiber. Both reduce friction compared to cotton, but Mulberry silk creates less friction, absorbs less moisture, and produces smoother results. Satin ribbon curls are the budget-friendly alternative with slightly less polish.
How do I prevent the ribbon from leaving a crease at the root?
Creasing happens when the ribbon pulls too tightly at the scalp. Leave about an inch of space between the root and your first wrap pass. Anchor the ribbon at the crown with a claw clip positioned flat against your head rather than pressing the ribbon into the root. This small gap eliminates visible creases while still curling hair from very close to the scalp.
Can I use silk ribbon curls on color-treated or bleached hair?
Absolutely. Silk ribbons are one of the safest styling tools for color-treated hair because they create zero heat damage and minimal mechanical friction. Bleached hair is especially prone to breakage from cotton or foam curlers, so switching to silk protects the weakened cuticle layer. Just make sure to use a leave-in conditioner before wrapping to add an extra layer of protection.
Are silk ribbons better than heatless curling rods?
Silk ribbons offer a flatter, more comfortable sleep experience than rigid rods. Rods can press against the scalp and create pressure points. Ribbons conform to the shape of your head. The trade-off is that rods produce more uniform ringlets, while ribbons create softer, more natural-looking waves. Your choice depends on the curl style you want.
Conclusion
Silk ribbon heatless curls deliver smooth, frizz-free waves when you pair the right material with the right technique. Choosing Mulberry silk or charmeuse satin over generic alternatives, mastering the Criss-Cross method for layered hair, and anchoring with claw clips instead of scrunchies solve the three biggest problems most people face with ribbon curling. Start with 90% dry hair, commit to a six-to-eight-hour set time, and your results will rival any salon blowout without a single degree of heat.