Applying styling products to a full head of curly or coily hair without sectioning is like painting a wall without taping the edges, you end up with uneven coverage, missed spots, and a result that falls apart within hours. Knowing how to section curly hair transforms product application from guesswork into a system that delivers consistent definition from the front hairline to the nape. Dense type 3 and type 4 textures lose up to 40% of potential curl definition simply because product never reaches the interior strands when applied to unsectioned hair.
This guide covers architectural sectioning strategies for extreme density, how to apply products without creating new tangles, the hardware that holds thick hair in place, and how section size affects your final results.
Why Sectioning Matters More for Dense and Coily Textures
Every strand in a section needs direct product contact to form a defined curl. When you apply gel, cream, or leave-in conditioner to a large, unsectioned mass of dense hair, the product coats the outermost strands and never penetrates to the interior.
The interior strands, which make up the majority of your hair’s volume, dry without product, producing frizz, undefined texture, and inconsistent curl patterns. This is the primary reason many people with type 4 hair report that styling products “do not work” for them. The products work; they simply never reach the strands that need them.
Sectioning also reduces mechanical stress during application. Working through a large section requires more pulling, raking, and manipulation, which separates curl clumps and causes breakage at the friction points where strands overlap. Smaller sections mean less force per pass, less tangling, and more precise product placement.
For a complete wash-day routine that incorporates sectioning at every stage, our type 3 and type 4 hair care pillar guide covers LOC/LCO layering within sectioned applications.
Architectural Sectioning for Extreme Density
Standard four-quadrant sectioning (dividing the head into front-left, front-right, back-left, back-right) works for medium-density hair but falls short for dense type 4 textures. Each quadrant on a high-density head still contains too many strands for thorough product penetration.
The Eight-Section Grid
This method subdivides the standard four quadrants into eight manageable sections:
- Part hair down the center from forehead to nape, creating two halves.
- Part each half horizontally from ear to ear, dividing the head into four quadrants.
- Subdivide each quadrant by parting horizontally through the middle, creating eight total sections.
- Clip each section up and away from the others using heavy-duty duckbill clips.
The Layer-by-Layer Method for Type 4B-4C
For the densest textures, an eight-section grid may still produce sections too thick for complete saturation. The layer-by-layer approach adds a vertical dimension:
- Start at the nape and part off a horizontal row approximately 1-2 inches thick.
- Clip everything above this row firmly out of the way.
- Apply products to this bottom row only, working from ends to roots.
- Release the next 1-2-inch horizontal row on top and repeat the process.
- Continue working upward toward the crown, one row at a time.
This method takes 30-45 minutes for a full application but guarantees that every strand receives direct product contact. The time investment pays off in curl definition that lasts three to five days instead of collapsing by day two.
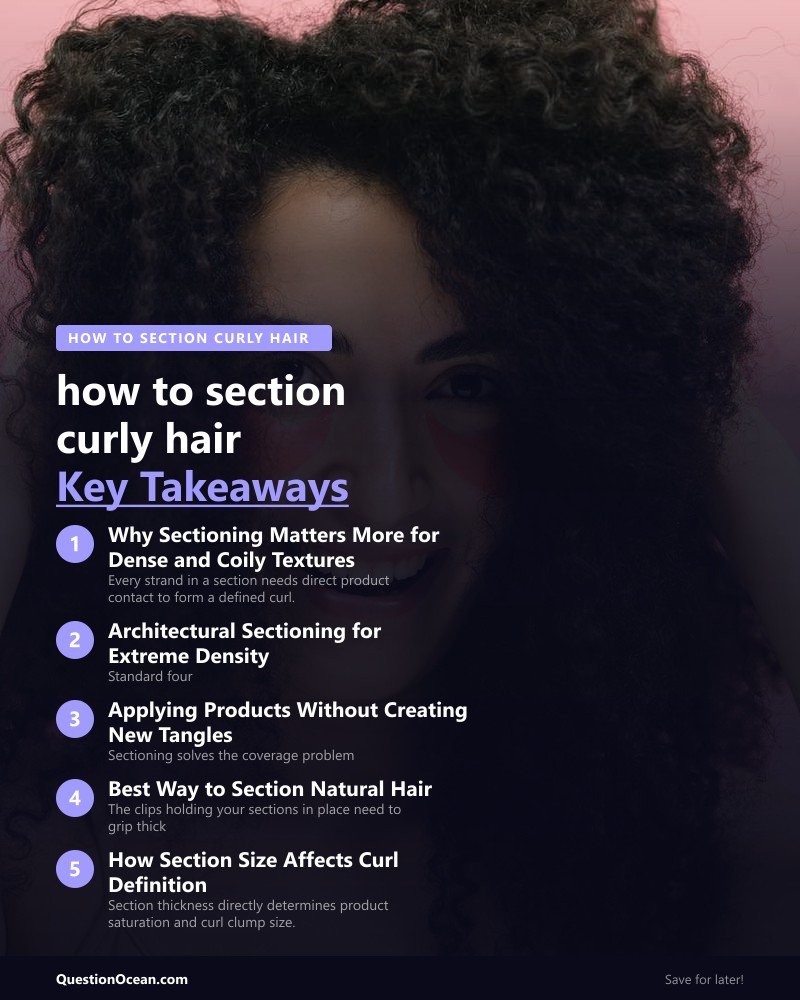
Applying Products Without Creating New Tangles
Sectioning solves the coverage problem, but careless product application within each section can create tangles that undo your detangling work. Follow these rules to keep sections smooth.
- Apply products to soaking wet hair only. Wet strands slide past each other; damp or dry strands catch and interlock. Keep a spray bottle of water nearby to re-wet sections that begin drying while you work through others.
- Use praying hands first, then rake. Flatten the section between both palms and smooth product from root to tip. This distributes an even base layer. Then rake fingers through the section gently to ensure interior coverage.
- Work from ends to roots. Starting at the roots and pulling downward pushes tangles toward the ends where they compress and tighten. Starting from the ends allows each knot to release as you move upward.
- Never flip or twist a section to reach the underside. Instead, lift the section gently with one hand and apply product to the underside with the other. Flipping creates new tangles at the twist point.
For readers whose detangling step needs refinement, our guide to detangling brushes for coily hair explains the flex-bristle mechanics and bottom-up protocols that protect strands during wet detangling.
Wide-Tooth Detangling Comb, seamless construction for natural hair
Best Way to Section Natural Hair: Hardware Requirements
The clips holding your sections in place need to grip thick, wet, coily hair without slipping, snagging, or denting the curl pattern. Standard butterfly clips and small jaw clips are not designed for this job.
Heavy-Duty Duckbill Clips
Duckbill clips are the gold standard for sectioning dense curly and coily hair. Their long, flat jaws distribute pressure evenly across the section without creating a crease or dent. Look for clips labeled “heavy-duty” or “professional”. These have a stronger spring mechanism that holds thick sections without sliding out.
Key features to look for:
- Minimum 3.5-inch jaw length to grip wide sections of dense hair.
- Smooth interior surface with no ridges or teeth that snag on wet strands.
- Rust-resistant coating (stainless steel or powder-coated) since they contact wet hair repeatedly.
- Strong spring tension that holds without requiring you to squeeze the section tightly before clipping.
Sectioning Clips vs. Jaw Clips
Jaw clips (claw clips) compress hair into a gathered bunch, which tangles the strands within the section. Duckbill clips lay flat against the hair, keeping strands smooth and parallel. For wash-day sectioning, always choose duckbill over jaw.
Purchase at least 8-12 duckbill clips if you use the eight-section or layer-by-layer method. Having extras on hand means you never run short mid-application and resort to holding sections with your hands, which introduces uneven tension.
Heavy-Duty Duckbill Clips, professional 3.5-inch stainless steel
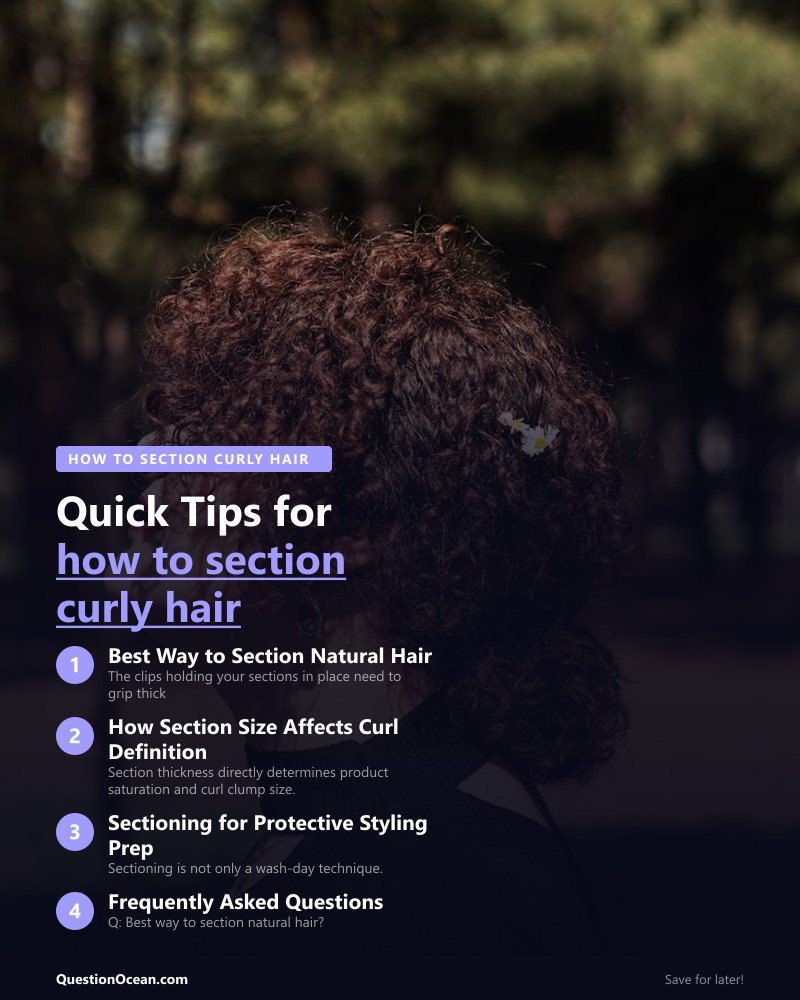
How Section Size Affects Curl Definition
Section thickness directly determines product saturation and curl clump size. Smaller sections produce more defined individual clumps; larger sections produce bigger, less defined groupings.
- 1-inch sections: Maximum definition for finger-coiling and type 4C wash-and-go styles. Each coil receives full product coverage and forms a tight, individually defined clump. Time-intensive but produces the most precise results.
- 2-inch sections: The practical sweet spot for most weekly wash-day routines. Provides strong definition across type 3 and type 4 textures without extending application time beyond 30-40 minutes.
- 3-inch sections: Suitable for low-manipulation styles, protective styling prep, or type 3A-3B textures that clump naturally with less product intervention.
If you are learning how to section curly hair for the first time, start with 2-inch sections. This size balances thorough coverage with manageable timing, and you can adjust smaller or larger once you understand how your specific texture responds.
For those integrating sectioning into a full wash-and-go workflow, our wash-and-go routine guide for 2026 demonstrates where sectioning fits within the complete process from shampoo through styling.
Sectioning for Protective Styling Prep
Sectioning is not only a wash-day technique. Protective styles, twists, braids, and cornrows, require precise parting for a clean finished look and even tension distribution across the scalp.
When sectioning for protective styles:
- Use a rat-tail comb for precise parting. The pointed end creates clean, straight lines that show through the finished style. Finger-parting creates wobbly lines visible in braids and twists.
- Part with damp, detangled hair. Dry parting pulls on strands and creates uneven tension.
- Keep sections consistent in size. Uneven sections produce braids or twists of different thicknesses, which affects both appearance and how long the style lasts.
For a broader look at protective styling methods, our guide to protective styling and extensions covers installation techniques that rely on accurate sectioning.

Frequently Asked Questions
Q: Best way to section natural hair? A: Divide the head into at least eight sections using a center part, an ear-to-ear part, and then horizontal sub-parts within each quadrant. For dense type 4 hair, use the layer-by-layer method — working in 1-2-inch horizontal rows from nape to crown, to ensure every strand receives product.
Q: How many sections should I use for wash day? A: Eight sections work well for medium-density type 3 and type 4 hair. High-density type 4B-4C textures may need 10-16 sections depending on hair length and thickness. The goal is sections small enough that you can see every strand within them when applying product.
Q: Do I need to section straight hair for product application? A: Straight and wavy hair types generally distribute product effectively without formal sectioning because the smooth cuticle allows products to travel along the strand. Dense type 3 and type 4 textures require sectioning because the coil pattern traps product on the outer layer.
Q: What clips work best for sectioning thick curly hair? A: Heavy-duty duckbill clips with at least 3.5-inch jaws and strong spring tension. Avoid butterfly clips and small jaw clips, which slip out of dense wet hair and create dents or tangles in the sections they hold.
Q: How do I keep sections from drying out while I work on other areas? A: Mist unworked sections with water every 5-10 minutes, or apply a thin layer of leave-in conditioner before clipping them up. Some stylists wrap waiting sections in plastic cling film to trap moisture while they focus on the active section.
Q: Does sectioning add a lot of time to my routine? A: Initial sectioning takes 3-5 minutes. The overall routine may take 10-15 minutes longer than unsectioned application, but the improved product coverage extends style life by two to three extra days: saving total weekly styling time significantly.
Learning how to section curly hair properly is the single most impactful technique upgrade for anyone with dense type 3 or type 4 texture. Even sectioning ensures every strand gets the product it needs, reduces mechanical stress during application, and delivers definition that lasts days longer than unsectioned styling. Start with the eight-section grid, invest in quality duckbill clips, and watch your curl definition transform.