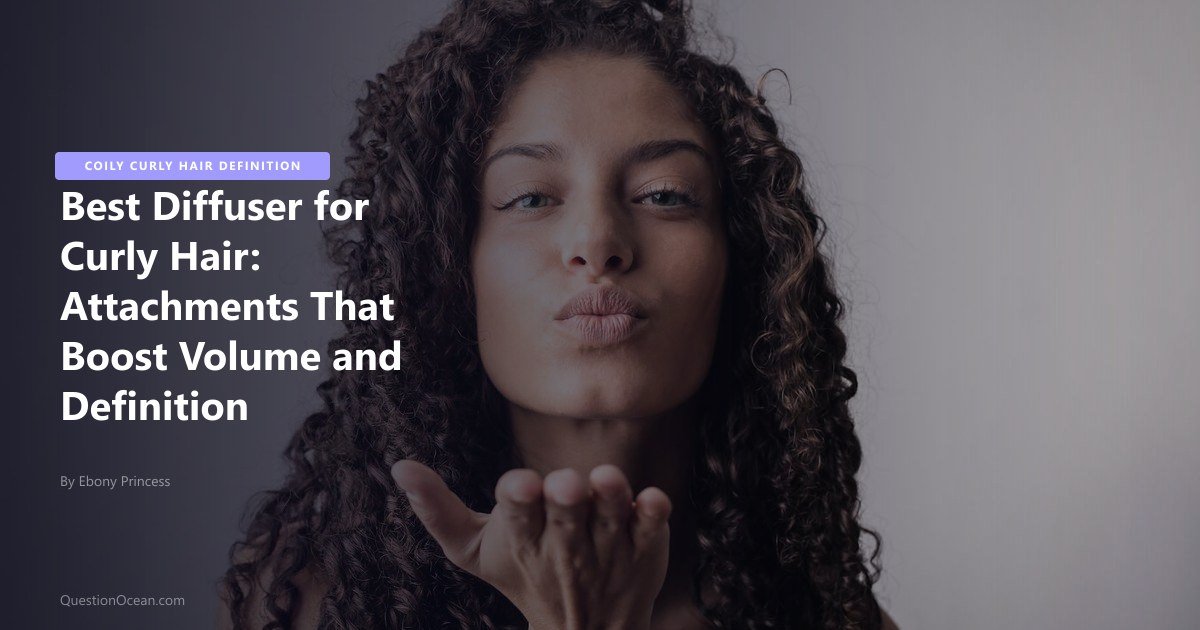
A standard concentrator nozzle pushes air at roughly 45 miles per hour directly into the curl clump, breaking apart the very definition you spent 30 minutes building. The best diffuser for curly hair redirects that same airflow across a wider surface area, cutting direct velocity by up to 60% while still delivering enough heat to set the curl pattern. The difference between a mediocre diffuser and a great one comes down to three engineering details: bowl diameter, prong configuration, and airflow distribution.
This guide breaks down aerodynamic bowl designs, prong lengths for dense hair, hover diffusing methods, cold shot finishing, and thermal protection strategies so you can choose and use the right diffuser for your curl type. For a full overview of hydration and styling foundations, our complete type 3 and type 4 hair care guide covers LOC/LCO layering, porosity mapping, and product selection.
Why Aerodynamic Bowl Design Matters for the Best Diffuser for Curly Hair
Bowl shape determines how air moves around the curl clump before reaching the strand surface. A shallow, flat diffuser spreads air too thinly and dries unevenly. A deep, cupped bowl cradles the curl formation and recirculates warm air in a gentle vortex pattern.
Deep-bowl diffusers with a diameter of 15-18 cm (roughly 6-7 inches) outperform smaller models because they hold an entire section of curls without compressing them against the head. The bowl walls redirect escaping air back toward the hair, creating a micro-environment of consistent warmth that dries from the outside in.
Look for bowls with vented sidewalls rather than solid plastic. Vented designs allow excess moisture to escape as steam instead of trapping humidity inside the bowl, which can reintroduce frizz. Brands marketing “360-degree airflow” typically use this vented approach, and it makes a noticeable difference on type 3C through 4C textures.
For type 4 coils specifically, a bowl with a slightly narrower opening and deeper cup works better than an ultra-wide design. Dense coils need concentrated warmth in a smaller zone to set properly, and a bowl that is too wide disperses heat past the target section.
Prong Length and Configuration for Dense Curly Hair
The prongs (also called fingers or tines) inside the diffuser bowl serve two purposes: they separate curl clumps gently to allow air to reach the inner layers, and they physically support the weight of wet hair during drying. The wrong prong length either fails to penetrate dense curls or pokes through to the scalp uncomfortably.
Short Prongs (Under 2 cm)
Short-pronged diffusers work best for type 3A and 3B curls with moderate density. These patterns do not need deep penetration because the curl clumps are looser and air moves through them more easily. Short prongs also reduce the risk of disturbing fragile clump formations.
Medium Prongs (2-4 cm)
Medium prongs suit the widest range of curl types, from 3B through 4B. They lift hair away from the scalp for root volume while reaching deep enough into dense sections to distribute heat evenly. Most universal diffuser attachments fall into this range, making them the safest choice if you carry multiple curl patterns.
Long Prongs (4-6 cm)
Long-pronged diffusers are purpose-built for type 4B and 4C textures with extreme density. The extended fingers reach through outer layers to deliver warmth to the mid-shaft and roots, where moisture hides longest. Without sufficient prong length, the outer curl layer dries completely while the interior stays damp for hours. Leading to a musty smell and undefined inner curls.
Silicone-tipped prongs reduce snagging on coily textures. Hard plastic tips can catch individual strands and pull them out of their clump pattern, creating single-strand frizz halos. If your diffuser has rigid plastic prongs, apply a thin layer of lightweight oil to the tips before each use.
Universal Diffuser Attachment, deep bowl with medium-long silicone prongs
Hover Diffusing to Prevent Frizz
Hover diffusing is the single most effective technique for preserving curl definition during the drying process. The method keeps the diffuser 3-5 centimeters away from the hair rather than pressing it directly against the curls. Direct contact between the bowl and wet hair flattens clumps, disrupts gel casts, and introduces friction that creates frizz.
Hold the diffuser beneath each section — never above, and let the warm air rise naturally through the curl clump from root to tip. Gravity keeps the curls draped over the prongs without compression, and the upward airflow sets the curl pattern in its natural hanging shape.
- Section your hair into four to six zones using duckbill clips.
- Start at the nape, tilting your head slightly forward.
- Hold the diffuser directly beneath the section at a distance of 3-5 cm.
- Keep the dryer on medium heat (not high) and medium speed.
- Hold position for 30-45 seconds without moving the diffuser.
- Move to the next section: never return to a partially dried section until completing the full rotation.
The key is patience. Moving the diffuser constantly breaks the gel cast prematurely and redistributes moisture across curl surfaces that were already beginning to set. One pass per section, bottom to top, produces dramatically better results than rapid multi-pass techniques.
For a complete wash-day routine that incorporates diffuser drying as the final step, our guide to the wash-and-go routine for 4C hair walks through every stage from shampoo to final diffuse.
The Cold Shot Technique for Locking Curl Definition
Most dryers include a cold shot button. A feature that forces room-temperature air through the barrel instead of heated air. Cold air does not actively dry hair, but it performs a critical finishing function: it closes the cuticle layer and hardens the gel or mousse cast that locks curls in place.
After diffusing each section with warm air until 80% dry, switch to the cold shot for 15-20 seconds to seal the curl pattern. The temperature drop contracts the cuticle, trapping moisture inside the strand and giving curls a visible sheen that warm air alone cannot produce.
The cold shot also speeds up the final drying phase without adding more heat exposure. At 80% dry, the remaining moisture sits in the innermost cortex layer. Cold air pulls that residual moisture to the surface through evaporative cooling, finishing the job in roughly half the time a warm-air-only approach requires.
Use the cold shot strategically: apply it section by section immediately after the warm pass rather than doing one large cold blast at the end. Section-by-section application locks each clump individually before you disturb it by moving to the next area.
Thermal Protection for Curly and Coily Hair
Heat damage on curly hair is deceptive. Unlike straight hair, where heat damage shows as visible split ends and limp strands, curly hair loses its curl pattern gradually. Coils loosen, clumps refuse to form, and definition disappears over weeks. By the time the damage is visible, multiple layers of the cuticle are already compromised.
- Always apply a heat protectant before diffusing. Silicone-based protectants (containing dimethicone or cyclomethicone) create a thermal shield that withstands temperatures up to 230C (450F). Water-based protectants evaporate faster and protect only up to about 180C (350F).
- Keep diffuser temperature below 70C (160F) for type 4 textures. Type 4 strands are finer individually than type 3 strands, making them more susceptible to thermal fatigue. Use the medium or low heat setting, never high.
- Limit diffusing sessions to 20 minutes maximum per wash day. Prolonged heat exposure, even at moderate temperatures, draws moisture out of the cortex faster than the strand can rebalance.
- Alternate between heat and air-dry when possible. Diffuse until 60-70% dry, then allow the remaining moisture to evaporate naturally. This hybrid approach cuts heat exposure time nearly in half.
Heat Protectant Spray. Lightweight silicone-based formula for natural curls
For a comparison of dryer technologies including infrared and ionic models that reduce thermal exposure, our guide to high-tech hair gadgets and dryers covers the engineering behind gentler drying options.
Do Diffusers Really Work for Curly Hair?
Diffusers work for every curly and coily hair type from 2C through 4C when used correctly. The failure most people experience comes from technique, not the tool itself. Direct blasting with a concentrator nozzle introduces turbulent airflow that physically separates curl clumps. A diffuser converts that same airflow into a laminar, distributed pattern that dries curls without disrupting their structure.
The measurable benefits include faster drying time (30-50% faster than full air-drying), increased root volume from the upward airflow lifting hair away from the scalp, and a harder gel cast that lasts longer because heat accelerates polymer cross-linking in styling gels and mousses.
Where diffusers fall short is when users apply them with the wrong technique: pressing the bowl directly into hair, using high heat, moving the dryer constantly, or touching curls before they are fully dry. The tool amplifies your technique, good or bad.
Choosing Between Universal and Brand-Specific Diffusers
Universal diffuser attachments fit most standard dryer nozzles through flexible silicone collars that stretch over barrel diameters from 4.5 cm to 6.5 cm. They offer the advantage of working across multiple dryers, but the fit is never as tight as a brand-matched attachment, which can cause air leakage at the connection point.
Brand-specific diffusers snap onto their matched dryer with a secure click-lock mechanism. Zero air leaks mean 100% of the dryer’s output reaches the bowl, producing more consistent results at lower heat settings. The downside is cost and compatibility, replacing the dryer means replacing the diffuser.
If you own a premium dryer with a proprietary barrel design, invest in the matched diffuser. The engineering is calibrated for that specific motor’s airflow output. For standard dryers available at Target, Boots, or Shoppers Drug Mart, a high-quality universal diffuser with a deep bowl and medium-to-long silicone prongs delivers excellent results at a fraction of the cost.
Refreshing Diffused Curls on Days Two and Three
Diffused curls hold their shape longer than air-dried curls because heat accelerates the polymer network in styling products. However, overnight friction from pillowcases and natural moisture loss still degrade the pattern by morning.
A quick refresh technique uses the diffuser on its lowest heat setting for 60-90 seconds per section after lightly misting with water and a small amount of leave-in conditioner. This reactivates the existing product without fully rewetting and starting over. For a complete multi-day refresh protocol, our guide to refreshing second and third-day curls covers misting ratios, product reactivation, and targeted re-clumping.
Avoid re-diffusing on high heat for refreshes, low heat or even the cold shot setting is sufficient to reactivate a partially intact gel cast without adding cumulative thermal stress.
Frequently Asked Questions
Q: Do diffusers really work for curly hair? A: Diffusers reduce direct airflow velocity by up to 60%, which preserves curl clumps during drying instead of blowing them apart. The key is using medium heat, holding the diffuser below the curls without touching them, and drying section by section rather than randomly moving the tool around your head.
Q: What size diffuser bowl is best for type 4 hair? A: A deep bowl with a diameter of 15-18 cm and medium-to-long prongs (3-6 cm) works best for type 4 textures. The depth cradles dense curls without compression, and the longer prongs penetrate thick sections to distribute heat evenly to inner layers.
Q: Should I diffuse curly hair upside down? A: Diffusing upside down adds root volume but can create tangles in longer type 3 and type 4 hair. A better approach for dense curls is to tilt your head sideways, section by section, and diffuse from beneath. This lifts roots without flipping the entire curl pattern.
Q: How long should I diffuse curly hair? A: Diffuse until hair reaches 80% dry, then use the cold shot for 15-20 seconds per section to seal the curl. Total active diffusing time should stay under 20 minutes to avoid excessive heat exposure. Let the final 10-20% of moisture evaporate naturally.
Q: Can diffusing cause heat damage to natural hair? A: Diffusing at moderate temperatures (below 70C/160F) with a heat protectant causes minimal thermal stress. The risk increases when you use high heat, skip heat protection, or diffuse for extended periods. Rotating between diffused and air-dried wash days further reduces cumulative exposure.
Q: Is it better to air dry or diffuse curly hair? A: Air drying produces softer curls with less volume, while diffusing creates more defined clumps with greater root lift. Many people with type 3C through 4C textures prefer diffusing because it cuts drying time significantly and sets the gel cast faster, which improves hold and longevity.
The best diffuser for curly hair combines a deep bowl with appropriately sized prongs and vented sidewalls for even airflow distribution. Pair that hardware with the hover technique, strategic cold shots, and consistent heat protection to achieve multi-day definition with genuine root volume. Your diffuser is only as effective as the technique behind it, master the hover method and your curls will show the difference immediately.