
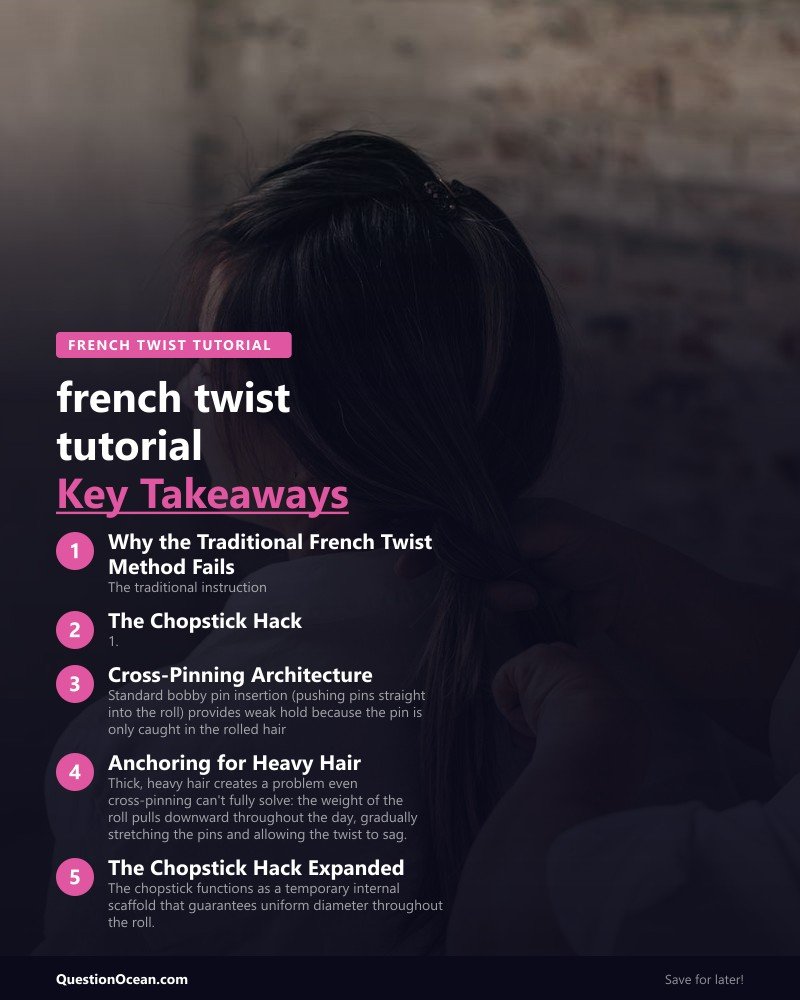
The French twist is the most elegant updo in Western styling, and the most feared. Standard tutorials instruct users to “sweep the hair up and tuck it in,” which produces a sloppy, loose roll that collapses within 30 minutes. This french twist tutorial uses the chopstick rolling hack. Wrapping the hair around a chopstick or pencil placed vertically behind the head, then rolling the hair around it to create a structurally perfect vertical channel, followed by cross-pinning architecture that locks the twist in place for 8-12 hours without slippage.
The chopstick hack eliminates the central challenge of the French twist: creating a smooth, even, vertical roll without visible puckering, gaps, or loose sections. The chopstick serves as a temporary internal scaffold that ensures uniform rolling before being removed.
Why the Traditional French Twist Method Fails
The traditional instruction, “gather hair at the back, twist upward, fold the ends under, and pin”. Skips the structural requirements that make the twist hold:
- No internal structure. Without a scaffold during rolling, the hair spirals unevenly. Tight at the top, loose at the bottom, or vice versa. The result is a lumpy roll that doesn’t sit flat against the head.
- Insufficient pinning. Standard tutorials suggest 3-4 bobby pins. A secure French twist on medium-to-thick hair requires 6-12 pins in a specific cross-pinning pattern.
- No surface smoothing. The visible surface of the twist shows every flyaway, every bumped section, and every strand that didn’t roll cleanly. Without pre-application smoothing product, the twist looks messy rather than polished.
The Chopstick Hack: Step-by-Step French Twist Tutorial
Materials Needed
- 1 chopstick, pencil, or knitting needle (any smooth, straight object 8-10 inches long)
- 8-12 bobby pins (standard length for fine-medium hair; jumbo length for thick hair)
- 2-3 U-pins (for securing the top of the twist)
- Smoothing pomade or anti-frizz serum
- Medium-hold hairspray
Preparation
- Start with dry, detangled, second-day hair (freshly washed hair is too slippery for the twist to grip)
- Apply a small amount of smoothing pomade to the palms and press over the surface of the hair. Focusing on the crown, temples, and any flyaway areas
- Brush all hair to the back of the head with a paddle brush, create a smooth, flat surface with no bumps or lumps
The Rolling Process
- Gather all hair at the center back of the head (approximately at ear level) as if making a low ponytail, but do not use an elastic
- Hold the gathered hair tightly with one hand
- With the other hand, place the chopstick vertically behind the gathered ponytail, pointing upward toward the crown
- Begin wrapping the hair around the chopstick: twist the gathered ponytail around the chopstick in one direction (either clockwise or counterclockwise, consistency matters, direction doesn’t)
- Continue wrapping until all the hair is coiled around the chopstick in a vertical roll
- Press the roll flat against the back of the head. The chopstick is now inside the roll, creating a smooth internal channel
- Tuck the loose ends (at the top of the roll) inward into the channel, they should disappear inside the twist
- Begin pinning (see Cross-Pinning Architecture below), pin through the roll and into the flat hair underneath to secure the structure
- Once the roll is fully pinned, gently slide the chopstick downward and out of the roll, the internal channel maintains its shape without the scaffold
The Critical Moment: Chopstick Removal
The chopstick slides out cleanly only if the pinning is secure. If the twist collapses when the chopstick is removed, the pins weren’t inserted deeply enough to catch the flat hair underneath the roll. Re-insert the chopstick, add 2-3 more pins, and try removal again.
French Twist Pin Kit. Bobby pins + U-pins set
Cross-Pinning Architecture: Why Pin Placement Matters
Standard bobby pin insertion (pushing pins straight into the roll) provides weak hold because the pin is only caught in the rolled hair, it can slide back out along its entry path. Cross-pinning creates an interlocking structure that resists pull from any direction.
Cross-Pinning Method
- Insert the first bobby pin horizontally through the roll and into the flat hair underneath: push until the pin catches hair on both sides of the roll
- Insert the second bobby pin at a 45-degree angle crossing over the first pin. The X pattern distributes resistance across two axes
- Continue inserting pin pairs in crossing patterns from the bottom of the roll to the top, spacing them 1-1.5 inches apart
- At the top of the roll, insert 2 U-pins vertically downward through the tucked ends — U-pins hold the top more securely than bobby pins because they grip from two points simultaneously
Pin Count by Hair Density
| Hair Density | Bobby Pins | U-Pins | Total |
|---|---|---|---|
| Fine/Thin | 4-6 | 1-2 | 5-8 |
| Medium | 6-8 | 2 | 8-10 |
| Thick/Dense | 8-12 | 2-3 | 10-15 |
Why jumbo bobby pins matter for thick hair: Standard 2-inch bobby pins don’t reach through the roll to catch the flat hair underneath on thick, dense twists. Jumbo 3-inch bobby pins provide the additional length needed for secure cross-pinning in dense hair.
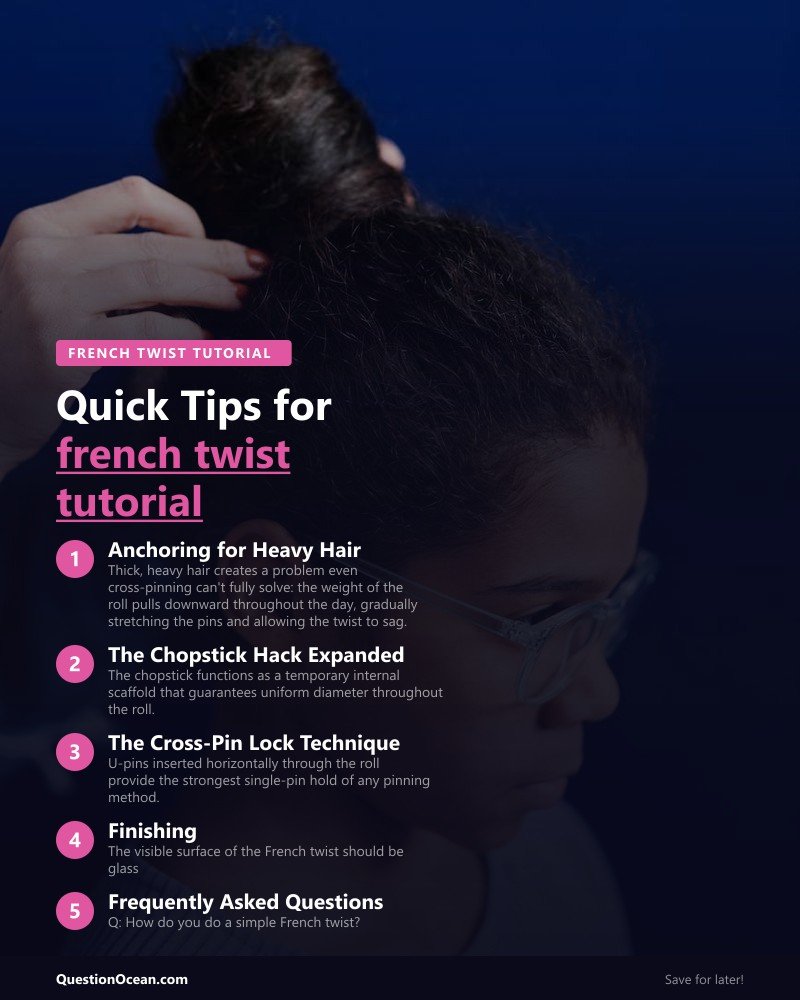
Anchoring for Heavy Hair: The Base Pin Row
Thick, heavy hair creates a problem even cross-pinning can’t fully solve: the weight of the roll pulls downward throughout the day, gradually stretching the pins and allowing the twist to sag.
The solution is a base pin row, a horizontal line of 4-5 bobby pins inserted at the nape before the twist is created. These pins sit underneath the twist’s base, providing a shelf that the roll rests on.
Base Pin Row Installation
- Before gathering the hair into a ponytail, part a 1-inch horizontal section at the nape
- Pin this section tightly against the scalp with 4-5 bobby pins pointing upward
- This creates a textured, pinned base that the bottom of the twist sits on
- When the twist is rolled and pinned, the roll presses against this base row, which absorbs downward gravitational force
With the base row, a French twist on thick hair holds 10-12 hours. Without it, the same twist on the same hair sags within 3-4 hours.
The Chopstick Hack Expanded: Vertical Rolling Details
The chopstick functions as a temporary internal scaffold that guarantees uniform diameter throughout the roll. Without it, most people create a twist that is tight at the bottom (where they started rolling) and loose at the top (where they ran out of hand coordination). The chopstick maintains consistent diameter from nape to crown.
Insert the chopstick vertically at the nape, positioned directly behind the gathered ponytail. The bottom tip of the chopstick should sit at the nape hairline. Hold the chopstick steady with one hand while the other hand wraps hair around it from bottom to top in smooth, overlapping passes.
Each wrap should overlap the previous one by approximately 50%: this overlap prevents gaps in the roll that create visible holes in the finished twist. Once all hair is wrapped, press the entire roll flat against the back of the head. The chopstick is now sandwiched between the roll and the skull, creating the internal channel.
Slide the chopstick out only after cross-pins are secure. The removal motion should be straight downward: pulling at an angle disturbs the pinned sections and can collapse the lower portion of the roll.
The Cross-Pin Lock Technique
U-pins inserted horizontally through the roll provide the strongest single-pin hold of any pinning method. Push a U-pin horizontally through the outer layer of the roll, through the internal channel space, and into the flat hair on the opposite side. Then rotate the U-pin 90 degrees to lock it perpendicular to its entry angle.
This rotation converts the U-pin from a simple pass-through into a structural lock. The rotated pin cannot slide back out along its entry path because the two prongs now point in a different direction than the entry hole. Three to four rotated U-pins spaced evenly along the roll create a holding structure that resists both gravity and movement for 10-12 hours.
Finishing: The High-Gloss Pomade Technique
The visible surface of the French twist should be glass-smooth. Any flyaways, bumps, or loose strands undermine the elegance of the silhouette.
- After completing the twist and removing the chopstick, examine the surface in a mirror
- Apply a micro-amount (smaller than a pea) of high-gloss pomade to the fingertips
- Smooth over any visible flyaways by pressing them flat against the roll surface
- Pay special attention to the hairline at the nape and temples, these areas produce the most visible flyaways
- Finish with 4-6 sprays of medium-hold hairspray from 12 inches away
Pomade flyaway control: Warm a fingernail-sized amount of edge control gel or smoothing pomade between palms until it becomes a thin, transparent film. Press both palms over the surface of the completed twist using gentle, downward strokes. The thin film tacks down microscopic flyaways without adding visible product shine or weight that could destabilize the roll structure.
Product recommendations:
- Bumble and Bumble Brilliantine ($28/50ml), high-shine pomade for editorial smoothness
- Budget: Eco Styler Olive Oil Gel ($3/236ml), provides shine and flyaway control at a fraction of the price
For the formal event version of the French twist, see sleek French twist for evening wear. For root volume before rolling, see teasing for retro root lift. For accessorizing the twist with clips, see butterfly clips and claw clips.
For the broader 90s styling context, see our 90s hair trends pillar guide.
Frequently Asked Questions
Q: How do you do a simple French twist? A: This french twist tutorial uses the chopstick hack: gather hair at the back, wrap around a chopstick placed vertically, roll the coiled hair flat against the head, cross-pin through the roll into the flat hair underneath, then remove the chopstick. The scaffold ensures even rolling that freehand techniques can’t match.
Q: Why does my French twist keep falling out? A: Three common causes: insufficient pins (use 8-12 with cross-pinning, not 3-4 straight-in), too-clean hair (second-day hair grips better), and no base pin row for thick hair. Add 2-3 more cross-pins and use stronger-hold hairspray.
Q: Can I do a French twist on short hair? A: A French twist requires hair at least shoulder-length to create a full roll. Chin-length and shorter hair doesn’t provide enough material to wrap around the chopstick scaffold. For shorter hair, a claw clip updo creates a similar silhouette with less hair.
Q: What bobby pins are best for a French twist? A: Standard 2-inch bobby pins for fine-medium hair, 3-inch jumbo bobby pins for thick hair. Choose pins with a rubberized or textured surface strip for better grip. Smooth, shiny pins slide out of smooth hair.
Q: How many bobby pins do I need for a French twist? A: Fine hair: 5-8 total. Medium hair: 8-10. Thick hair: 10-15. The cross-pinning method (pins inserted in crossing X patterns) distributes holding power more effectively than straight-in insertion, often allowing fewer total pins.
The chopstick hack transforms the french twist tutorial from an impossibly complex updo into a repeatable, structured process. The scaffold creates a smooth, even roll every time; cross-pinning provides interlocking security; and the base pin row anchors heavy hair against gravitational sagging. One chopstick, 8-12 bobby pins, and 5 minutes produce the most elegant updo in Western styling.