The 90s supermodel blowout, Cindy Crawford, Claudia Schiffer, Naomi Campbell, is the most requested retro look in 2026 salons across the US, UK, and Canada. The foundation of this look is massive, bouncy volume that moves with the head: face-framing sections that flip away from the face, crown sections that stand at full height, and ends that curve inward in a controlled “C” shape. Replicating this 90s blowout velcro rollers tutorial at home requires understanding three physics principles: root tension (how tightly the hair wraps around the brush), thermal cooling (why the cooling phase is more important than the heating phase), and the mohawk sectioning pattern that creates even volume across the entire head.
This guide provides the exact technique: section by section. That professional stylists use for editorial 90s blowouts, translated for at-home execution with consumer-grade tools.
The Physics of Root Tension: Why the Brush Must Pull
Root tension is the mechanical force that lifts the hair at the root during blow-drying. Without adequate tension, the root zone lies flat against the scalp, and no amount of velcro roller setting can compensate for a flat root.
How root tension works: When a round brush grips a section of hair and you pull it away from the scalp at a 90-135 degree angle while applying heat, two things happen simultaneously:
- The heat forces hydrogen bonds to break and reform in the lifted, curved position
- The physical tension at the root stretches the root zone into an upright position
The tension must be maintained throughout the entire drying time for each section. Typically 20-30 seconds of continuous heat from a directional nozzle. Releasing tension before the section is fully dry allows the root to relax back to its flat position before bonds can lock.
Choosing the Right Round Brush for Tension
| Brush Diameter | Effect | Best For |
|---|---|---|
| 53mm (2 inch) | Large, loose curves | Long hair; gentle face-framing flip |
| 43mm (1.7 inch) | Medium bounce | Medium-to-long hair; classic 90s volume |
| 33mm (1.3 inch) | Defined curls | Bob and lob lengths; tighter movement |
Bristle type matters for tension grip: Mixed boar/nylon bristle brushes provide the strongest grip. The boar bristles grab the hair shaft while the nylon pins prevent tangles during rolling. Pure nylon brushes are too slippery for the sustained tension required for root lift. Pure boar brushes are too dense for thick hair.
Recommended brushes:
- Olivia Garden Ceramic + Ion ($18/43mm). The professional standard for blowout tension. Available at Ulta (US), Amazon (UK/CA).
- Ibiza Hair CC4 ($38/55mm) — cork handle for heat resistance, boar/nylon blend bristles. Salon-level grip.
- Budget: Conair Round Brush ($8/43mm). Adequate grip for fine-to-medium hair at one-quarter the price.
Round Brush for 90s Blowout. Boar/nylon blend
The Mohawk Sectioning Method: Core of the 90s Blowout Velcro Rollers Tutorial
Professional blowouts look even because stylists section the hair into a specific pattern before drying a single strand. The mohawk method, named for the central strip of hair that forms the first section, ensures consistent tension and heat exposure across the entire head.
Mohawk Sectioning Step by Step
- Section 1. The Mohawk: Part the hair from the front hairline straight back to the crown-nape transition, approximately 2-3 inches wide (the width of the round brush). Clip all remaining hair on both sides out of the way.
- Section 2, Left Temple: Release the hair from the left temple to the ear. Clip the remaining left-side hair.
- Section 3, Left Occipital: Release the hair behind the left ear to the nape.
- Section 4: Right Temple: Mirror of Section 2.
- Section 5. Right Occipital: Mirror of Section 3.
- Section 6, Remaining Crown/Back: The final section covers any hair not captured in Sections 1-5.
Why this pattern works: The mohawk strip is dried first because it’s the most visible section (top of the head, part line). Starting here ensures maximum freshness and attention. The side sections are dried outward (away from the face) using the round brush to create the signature face-framing flip.
The Graduated Roller Sizing Technique
The mohawk strip receives the largest velcro rollers, 50mm diameter: because this central strip creates the peak volume at the crown. Rolling these sections first with maximum-diameter rollers produces the tallest lift point, which becomes the visual apex of the finished blowout.
Once the mohawk strip is fully rolled on 50mm rollers, work outward to the temple and side sections using 43mm rollers. The smaller diameter creates slightly tighter movement at the sides, producing a natural volume gradient that peaks at the crown and softens toward the ears.
This graduated approach prevents the common mistake of uniform roller sizing across the entire head. Equal-diameter rollers produce equal volume everywhere, which creates a round, mushroom-shaped silhouette. The 50mm-to-43mm graduation creates the tapered, elongated volume shape that defines the supermodel blowout silhouette.
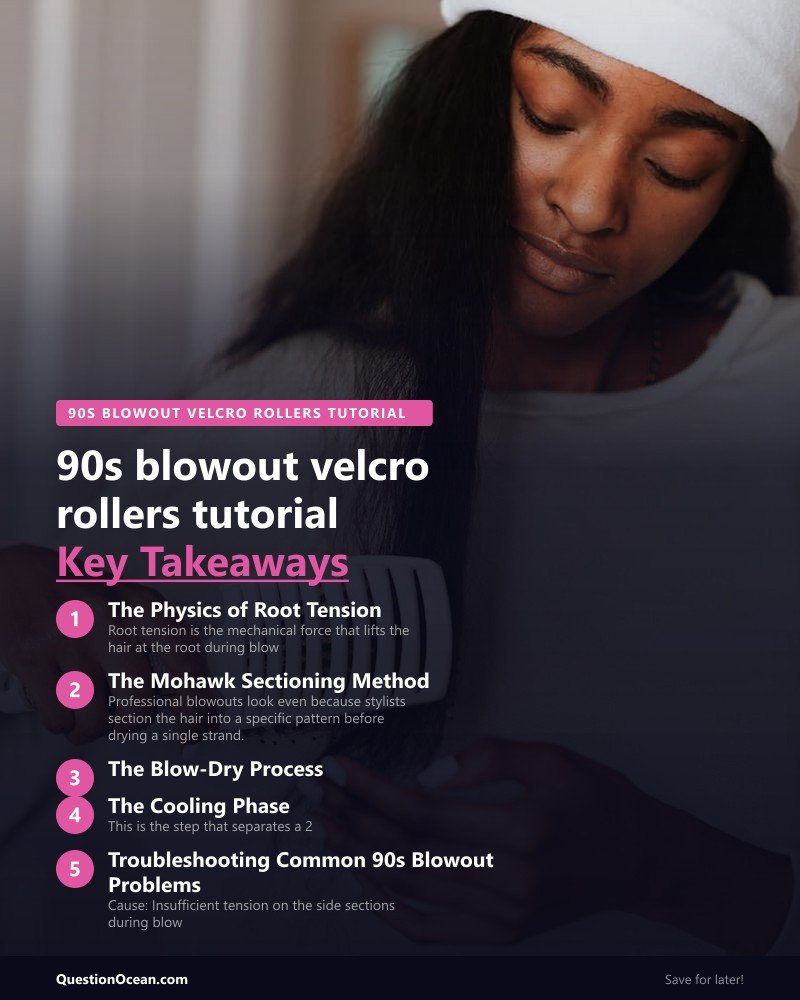
The Blow-Dry Process: Section by Section
Equipment Setup
- Hair dryer with a concentrator nozzle (essential — diffuser nozzles disperse airflow and reduce tension control)
- 43mm round brush (boar/nylon blend)
- 6-8 velcro rollers, 40-55mm diameter (see our velcro roller guide)
- Sectioning clips (duckbill or butterfly)
- Root lifting spray or volumizing mousse
- Medium-hold setting spray
Pre-Dry Product Application
Apply root lifting spray to the roots of each section before drying. Direct the spray nozzle at the root zone. Not the mid-shaft or ends, and lift each section upward while spraying for even coverage.
Product recommendation: Kenra Volume Spray 25 ($16/283ml), the salon standard for blowout root lift. Available at Ulta (US), Amazon (UK/CA). Budget alternative: TRESemmé Tres Two Extra Hold Spray ($5/311ml).
Drying the Mohawk Strip
- Take a 1-inch horizontal sub-section from the front of the mohawk strip
- Place the round brush underneath the section at the root
- Roll the brush upward, wrapping the hair around it with moderate tension: the brush should lift the root 90 degrees from the scalp
- Point the concentrator nozzle downward along the section from root to end, following the direction of the cuticle
- Rotate the brush slowly while applying continuous heat for 20-30 seconds
- When the section is fully dry and hot to the touch, immediately roll it onto a velcro roller (same diameter as the round brush), do not let the section cool on the brush or fall free
- Secure the roller with a clip if needed (fine hair may hold with velcro grip alone; thick hair needs clips)
- Move to the next sub-section and repeat
Drying the Side Sections (Face-Framing Flip)
The side sections create the signature 90s face-framing flip: hair that curves away from the face rather than falling forward.
- Take a 1-inch sub-section from the temple area
- Place the round brush on top of the section (not underneath. The inverse placement creates the away-from-face direction)
- Roll the brush away from the face, wrapping the hair around it with the ends pointing backward
- Direct heat from the concentrator nozzle along the section for 20-30 seconds
- Roll onto a velcro roller in the same direction (away from face)
- Continue through all side sub-sections
Drying the Back Sections
The back sections receive moderate volume, less dramatic than the crown and sides but enough to prevent the back from falling flat.
- Take horizontal sub-sections working upward from the nape
- Round brush underneath, roll upward with moderate tension
- Dry fully, roll onto velcro rollers
- The bottom-most nape sections can be dried without rollers: they sit against the neck and don’t contribute to visible volume
The Cooling Phase: The Most Important Step
This is the step that separates a 2-hour blowout from a 12-hour blowout. Once all sections are on velcro rollers, the hair must remain in the rollers for a minimum of 15-20 minutes, until every section has cooled to room temperature.
Why Cooling Matters
Hydrogen bonds reform during cooling, not during heating. Heat breaks the bonds; cooling sets them in the new shape. If you remove rollers while the hair is still warm, the bonds haven’t fully locked: the curl relaxes by 40-60% within the first hour.
During the cooling phase:
- Apply a light mist of medium-hold setting spray over the rollers
- Apply makeup, get dressed, or prepare for the day. The cooling phase is passive time
- Do not use a cool-shot dryer setting to accelerate cooling: ambient cooling produces longer-lasting results than forced cooling
Roller Removal
After 15-20 minutes of cooling:
- Unclip each roller gently, do not pull
- Unroll the roller downward and away from the head, releasing the section
- Do not brush immediately: allow each section to fall naturally
- After all rollers are removed, wait 2 minutes for sections to settle
- Gently finger-comb through all sections to blend the curled sections into one cohesive volume
- Finish with 4-6 sprays of flexible-hold hairspray from 12 inches away
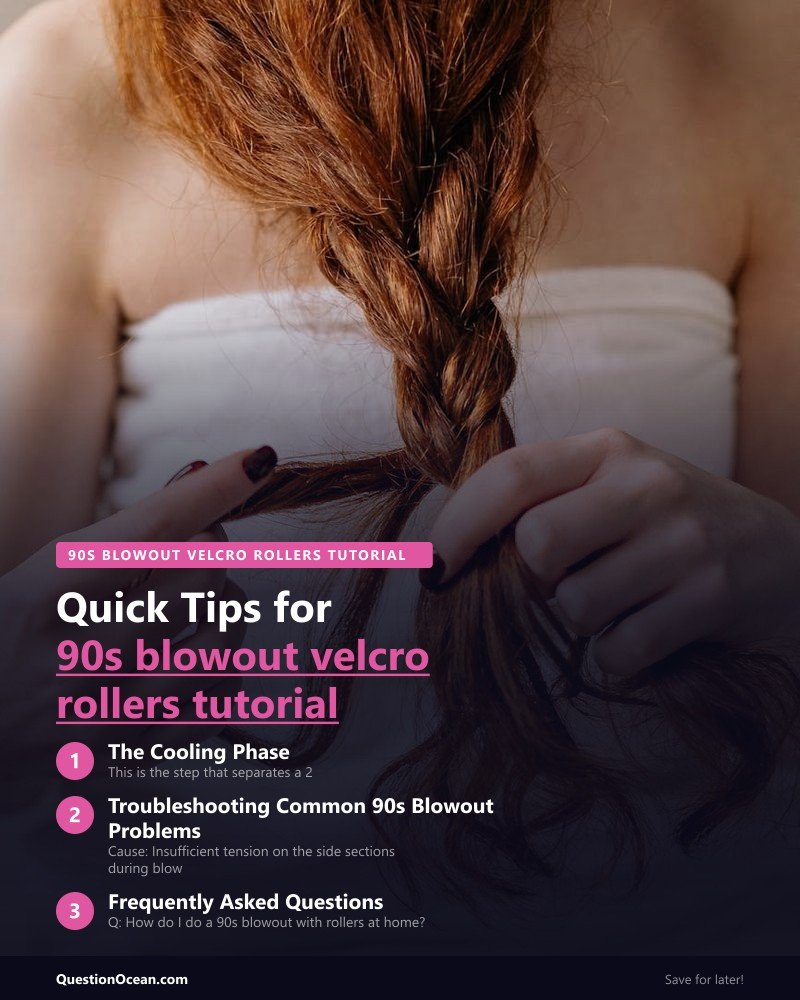
Troubleshooting Common 90s Blowout Problems
Problem: Volume at the Crown But Flat Sides
Cause: Insufficient tension on the side sections during blow-drying.
Fix: When drying side sections, pull the round brush at a 90-degree angle from the head, not parallel. The brush should be pointing straight out from the temple, not hanging downward. This forces the root upward against gravity.
Problem: Curled Ends But No Root Lift
Cause: Roller placement too far from the root zone.
Fix: When transferring from round brush to velcro roller, position the roller directly at the root: the roller should be touching the scalp. Rolling only the mid-shaft and ends creates curl without lift.
Problem: Blowout Drops Within 2 Hours
Cause: Insufficient cooling time, rollers removed while warm.
Fix: Extend the cooling phase to 25-30 minutes. The hair should feel completely room-temperature (not warm) before removal. In summer or warm rooms, allow extra time.
Problem: Heavy, Thick Hair Won’t Hold Volume
Cause: Thick hair weighs down standard velcro grip. The rollers slide out before cooling is complete.
Fix: Use clip-secured rollers or aluminum-core rollers that maintain heat longer, extending the setting window. Apply a stronger setting spray directly to each section before rolling. See our retro root lift guide for additional volume techniques on thick hair.
For the complete 90s trend overview, see our pillar guide to 90s hair trends. For styling blowouts with face-framing highlights, see our color guide.
For similar heatless volume techniques, see our guide to heatless blowout with velcro rollers and salon blowout brushes.
Velcro Rollers Set. 40-55mm diameter with clips
Frequently Asked Questions
Q: How do I do a 90s blowout with rollers at home? A: This 90s blowout velcro rollers tutorial uses the mohawk sectioning method: dry each section with a 43mm round brush at 90-degree tension, immediately transfer hot sections onto 40-55mm velcro rollers, allow 15-20 minutes of cooling time, then remove and finger-comb for volume that lasts 12-24 hours.
Q: What size rollers for a 90s blowout? A: 40-55mm diameter for loose, bouncy volume (the classic 90s look). Smaller rollers (30-35mm) create more defined curls. Larger rollers (55mm+) create very subtle body wave without visible curl.
Q: How long do you leave velcro rollers in? A: A minimum of 15 minutes after all sections are fully dry and rolled. The cooling phase: not the heating phase: is what locks the curl shape. Removing rollers while warm reduces longevity by 40-60%.
Q: Can I do a 90s blowout on short hair? A: Yes, use 33mm round brushes and 30-35mm velcro rollers. The shorter the hair, the smaller the roller diameter needed to create visible volume and movement. Bobs and lobs respond excellently to the mohawk sectioning method.
Q: How do I make my blowout last all day? A: Three factors: apply setting spray to each section before rolling, allow full 15-20 minute cooling in the rollers, and finish with flexible-hold hairspray. In high humidity, use an anti-humectant spray as the final layer to prevent moisture-driven volume collapse.
Q: Do I need expensive brushes for a 90s blowout? A: A $8-18 boar/nylon blend round brush at 43mm diameter produces professional results. The brush must grip the hair firmly enough to maintain tension during drying: that’s the only requirement. Barrel material (ceramic, metal, or tourmaline) affects heat distribution but not the fundamental tension mechanics.
The 90s blowout velcro rollers tutorial transforms any at-home styling routine into salon-quality volume, but only if the three mechanical principles are respected: sustained root tension during drying, immediate roller transfer at peak heat, and a full 15-20 minute cooling phase before removal. Master these principles, and a $16 set of velcro rollers outperforms a $200 curling set.