The difference between extensions that look natural and extensions that look obviously added comes down to three blending techniques that most DIY installers skip entirely: sandwich installation architecture, slide-cutting for texture integration, and root smudging to eliminate the color line at the attachment point. A tape in extensions seamless blend requires that every extension panel is invisible from every angle: from above (no visible tape), from the side (no thickness bulge), and from the ends (no blunt line where extension hair meets natural hair).
This guide covers the professional blending protocol that makes tape-in extensions undetectable, including the sandwich layering method, slide-cutting for graduated ends, and updo-proofing techniques that hide tape panels even in pulled-back styles.
For a comparison of tape-in and clip-in extension systems, see our tape-in vs clip-in extensions guide.
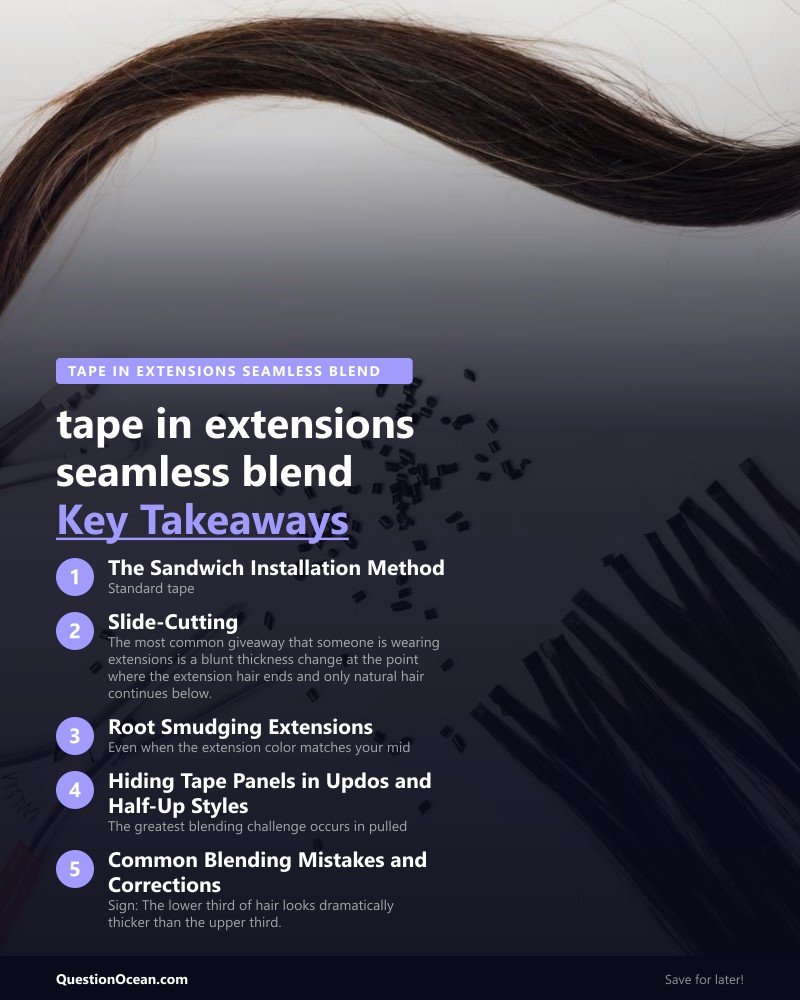
The Sandwich Installation Method
Standard tape-in installation places extension wefts in a single horizontal line around the head. The problem: every weft sits at the same level, creating a visible ridge of thickness at the tape line that disrupts the natural fall of the hair.
Sandwich installation staggers the weft placement across multiple vertical levels, creating a layered, three-dimensional blend that mimics how natural hair density gradually increases from the hairline inward.
How Sandwich Installation Works
- Bottom layer (nape): Install 4-6 tape panels at the nape, positioned 1 inch above the lowest hairline
- Middle layer: Skip 1 inch of natural hair vertically, then install 6-8 panels
- Upper layer: Skip another inch, install 8-10 panels through the mid-head zone
- Crown layer: Install 4-6 panels in the crown area, positioned at least 2 inches back from the part line
The key principle: Each layer of tape panels is separated by a “buffer zone” of natural hair. When the hair falls naturally, these buffer zones of natural hair drape over the tape panels below, concealing them completely.
Why this achieves a seamless blend: The graduated vertical spacing distributes the added volume incrementally rather than dumping all the extra thickness at one horizontal level. The result looks like naturally thick hair, not a distinct line where extensions begin.
For the pillar overview of extension tension and weight distribution, see our protective hairstyles 2026 guide.
Thinning Shears for Extension Blending
Slide-Cutting: Eliminating the Blunt End Line
The most common giveaway that someone is wearing extensions is a blunt thickness change at the point where the extension hair ends and only natural hair continues below. Even perfectly color-matched extensions create this visual discontinuity if the ends aren’t blended.
Slide-cutting is the texturizing technique that eliminates this blunt transition. The stylist holds the shears at a steep diagonal angle and slides them down the last 2-3 inches of the combined extension-and-natural-hair length. This creates a graduated, feathered end that tapers smoothly rather than ending abruptly.
Slide-Cutting Protocol
- After full installation, comb all hair (natural + extensions) together in its natural fall direction
- Identify where the extension hair creates visible thickness changes at the ends
- Hold a section of blended hair between the index and middle fingers, pulling gently taut
- Position the shears at a 45-degree angle with the blades pointing downward
- Slide the partially opened shears down the last 3 inches in a single smooth motion
- Repeat on each section around the perimeter of the head
Critical warning: Slide-cutting removes hair. This technique should only be performed on the extension hair and the natural hair below the tape attachment point: never on the tape panel itself. A professional stylist can distinguish the cutting zones precisely.
Point-Cutting as an Alternative
For extensions that need minimal blending, point-cutting (snipping into the ends vertically with the shears pointed upward) creates subtle texture without removing significant length. This is the safer DIY alternative to slide-cutting.
Root Smudging Extensions: Hiding the Color Transition
Even when the extension color matches your mid-shaft and end color perfectly, the root area often reveals a mismatch. Natural roots are typically darker or warmer than the mid-shaft color, and the extension hair starts at its full, processed color right at the tape panel.
Root smudging applies a semi-permanent wash of your natural root color to the first 0.5-1 inch of the extension hair, creating a graduated transition that mimics natural root-to-end color variation.
Root Smudge Application for Extensions
- Apply petroleum jelly to the tape panel edges to protect the adhesive from color product
- Mix a demi-permanent color matching your natural root shade
- Apply with a fine brush to the first 0.5-1 inch of extension hair immediately below the tape panel
- Blend the color downward with a clean brush for a graduated fade
- Process for 15-20 minutes (check manufacturer timing)
- Rinse gently without disturbing the tape adhesive
For comprehensive extension color matching including multi-tonal blending, see our color matching extensions guide.
Hiding Tape Panels in Updos and Half-Up Styles
The greatest blending challenge occurs in pulled-back hairstyles, where the tape panels and attachment points become exposed. The 2026 approach uses strategic panel placement and covering techniques to maintain a seamless look in any style.
Updo-Proofing During Installation
- Avoid placing panels within 2 inches of any part line, the part is the highest-visibility zone in updos
- Install panels angled slightly downward (tilted 10-15 degrees from horizontal) rather than perfectly flat, this prevents the top edge from lifting when hair is pulled upward
- Use half-width wefts at the temples and crown — full-width wefts are more visible when hair is pulled back
Half-Up Style Technique
- Create the half-up section using only natural hair from above the highest tape panel row
- The remaining down section contains the tape panels, concealed under the falling hair
- If any panel edges are visible at the partition line, use a texturizing spray and gentle backcombing to create a soft buffer of natural hair over the exposed area
Full Updo Technique
- Backcomb or tease a thin layer of natural hair directly over any exposed tape panels
- Use bobby pins positioned to hold natural hair flat over the panel edges
- Apply a flexible-hold hairspray to lock the covering layer in place
- Use decorative pins or accessories strategically placed over any remaining visible attachment points
Extension-Safe Heat Protectant Spray
Common Blending Mistakes and Corrections
Mistake: Extensions Too Thick for Natural Hair Density
Sign: The lower third of hair looks dramatically thicker than the upper third. Fix: Remove 20-30% of the installed panels. A seamless blend is impossible when the extension volume significantly exceeds the natural hair volume. Less extension hair often looks more natural than more.
Mistake: Extension Length Exceeds Natural Hair by More Than 6 Inches
Sign: An obvious “shelf” where natural hair ends and only extension hair continues. Fix: Either choose shorter extensions (matching within 4-6 inches of natural length) or use graduated layering so the extension length transition occurs gradually across multiple lengths.
Mistake: Tape Panels Placed Too Close to the Part Line
Sign: Visible tape edges when the hair separates at the part. Fix: Reinstall panels at least 2 inches away from any part line. Cover the immediately visible area with natural hair only.
Mistake: No Texturizing After Installation
Sign: Extension hair hangs perfectly smooth while natural hair has its own texture pattern. Fix: After installation, style the extension hair to match the natural hair’s texture, add waves with a curling iron, straighten if your natural hair is straight, or rough up the ends with texturizing spray.
For washing techniques that maintain both the blend and the adhesive bond, see our guide to washing human hair extensions. For heat protection during blending, check this resource on heat protectant for extensions.
Frequently Asked Questions
Q: How do you blend tape-in extensions seamlessly? A: Use sandwich installation (stagger panels at multiple vertical levels), slide-cut the ends to eliminate blunt thickness changes, root-smudge the first 0.5 inch of extension hair to match your natural root color, and texturize the extension hair to match your natural hair’s wave or curl pattern.
Q: Can you hide tape-in extensions in a ponytail? A: Yes, with proper placement. Install panels at least 2 inches below the ponytail gathering point. Use half-width wefts at the crown and temples. Create a thin teased buffer of natural hair over any visible tape edges at the gathering point.
Q: How do you make extensions look natural? A: Match color precisely (including root tone, not just mid-shaft), limit extension length to within 4-6 inches of natural length, use fewer panels for a subtle density increase rather than maximum volume, and style extensions to match your natural texture after installation.
Q: Do tape-in extensions show when hair is up? A: They can if placed too close to the part line or ponytail zone. Professional installation positions panels strategically to remain hidden in common updo configurations. The sandwich staggering method further conceals panels by layering natural hair between each panel row.
Q: How long after tape-in installation can I style my hair? A: Wait 48 hours after installation for the adhesive to reach full bond strength. After that, style freely, but avoid oil-based products within 1 inch of the tape panels, as oil dissolves acrylic adhesive.
A tape in extensions seamless blend is built on three invisible layers: the sandwich architecture that hides panels under natural hair buffers, the slide-cut texturizing that eliminates blunt transitions at the ends, and the root smudge that erases the color line at each attachment point. Master these three techniques and extensions stop being visible additions: they become integrated volume.