
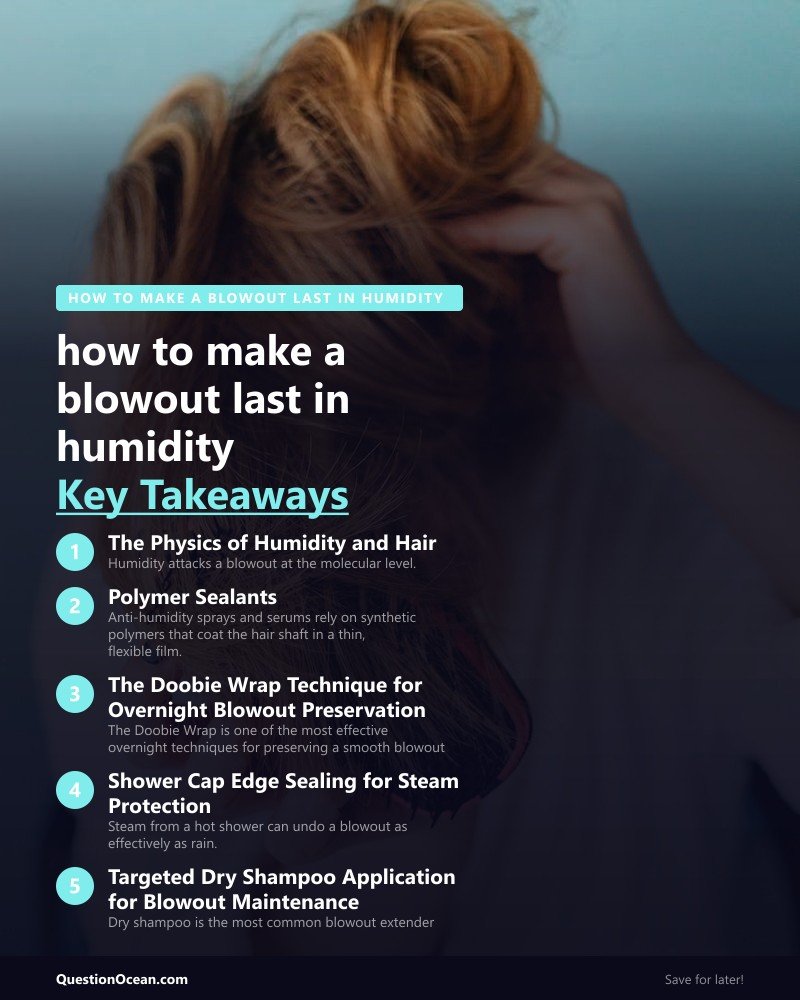
A salon blowout that costs $45 to $75 should not collapse into a frizzy mess the moment you step outside into humid air, yet for millions of women across the US Gulf Coast, the UK coastline, and humid Canadian summers, that is exactly what happens within hours. Understanding how to make a blowout last in humidity requires more than hairspray and hope. It demands a strategy built around humidity physics, polymer-based sealants, overnight preservation, and targeted refresh techniques that address where frizz starts before it spreads.
For a full overview of wash-day scheduling and style preservation fundamentals, see our complete guide to optimizing your wash-day routine.
The Physics of Humidity and Hair
Humidity attacks a blowout at the molecular level. Each hair strand contains hydrogen bonds that a blow dryer temporarily reshapes. Heat breaks the bonds, tension resets them in a smooth, straight configuration, and cooling locks them into place. When humid air surrounds the hair, water molecules in the atmosphere penetrate the cuticle and re-break those hydrogen bonds, allowing the strand to revert to its natural texture.
The higher the dew point, the faster this reversion happens. A dew point above 60°F (15°C) creates enough atmospheric moisture to begin undermining a blowout within two to three hours. Cities like Houston, Miami, New Orleans, and London in summer regularly exceed this threshold. Even Vancouver and Toronto push past it during July and August.
The cuticle layer acts as the primary barrier. A healthy, sealed cuticle slows moisture penetration. A rough, lifted cuticle, caused by chemical processing, hard water buildup, or skipping conditioner. Lets humidity in almost immediately. Everything that follows in this guide is designed to keep that cuticle sealed tight.
Polymer Sealants: Your First Line of Defense
Anti-humidity sprays and serums rely on synthetic polymers that coat the hair shaft in a thin, flexible film. This film physically blocks water vapor from reaching the cortex where hydrogen bonds sit. Not all anti-humidity products are equal, and understanding the active ingredients helps you choose effectively.
- PVP/VA copolymer: The most common anti-humidity agent in professional sprays. It creates a breathable film that blocks moisture while remaining flexible enough to avoid stiffness.
- Cyclomethicone and dimethicone blends: Silicone-based sealants that coat each strand with a water-repellent layer. These work well on medium to thick hair but can weigh down fine strands.
- Polyquaternium-11: A conditioning polymer that seals the cuticle while adding light hold. Common in leave-in treatments designed for humid climates.
Apply polymer sealants to completely dry hair, never damp. Sealing moisture inside the hair shaft defeats the purpose, you want the sealant on the outside blocking new moisture from entering. Mist an anti-humidity spray from 10 to 12 inches away, focusing on the canopy layer (the top surface of your hair that faces the atmosphere) and the sections framing your face.
Anti-humidity finishing spray, polymer-based, lightweight
The Doobie Wrap Technique for Overnight Blowout Preservation
The Doobie Wrap is one of the most effective overnight techniques for preserving a smooth blowout, and it remains underused outside of professional styling circles. The method involves brushing all hair in one continuous circular direction around the head, then pinning it flat with duckbill clips and covering with a silk or satin scarf.
How to Doobie Wrap a Blowout
- Start by brushing all hair to one side. Typically from right to left around the head, using a boar bristle brush.
- Continue brushing in a circular motion so the hair wraps smoothly around the crown, following the curve of your head.
- Place four to six large duckbill clips along the wrapped path to hold the hair flat against your head. Position clips parallel to the direction of the hair, not perpendicular.
- Wrap a silk or satin scarf snugly over the clips, tucking the ends underneath.
- In the morning, remove the scarf and clips, then gently brush the hair back into its styled position.
The Doobie Wrap works because it eliminates all friction, prevents hair from bending against a pillow, and keeps the cuticle smoothed in one direction throughout the night. It is particularly effective on blowouts because the hair is already straight and smooth — the circular wrap maintains that alignment rather than fighting against natural texture.
This technique pairs perfectly with a silk pillowcase for additional friction reduction on nights when you prefer not to wrap.
Shower Cap Edge Sealing for Steam Protection
Steam from a hot shower can undo a blowout as effectively as rain. The problem is that most shower caps have loose elastic edges that let steam creep in around the hairline, creating a halo of frizz at the temples and nape while the rest of the hair stays dry.
Sealing the edges of your shower cap is a small step that makes a measurable difference. Here is how to get a truly airtight seal:
- Choose a cap with a wide elastic band rather than a thin one. Wide bands create more surface contact and fewer gaps.
- Apply a thin strip of petroleum jelly along your hairline before putting on the cap. The jelly creates a moisture barrier where the cap meets skin, preventing steam from wicking up into the hair.
- Press the cap edge firmly against your head at the temples, behind the ears, and at the nape. The three areas where gaps form most often.
- Shower with the bathroom fan running to reduce ambient steam buildup. Alternatively, keep the bathroom door slightly open.
A satin-lined shower cap protects both your style and your hair’s cuticle layer. Standard plastic-lined caps can snag at the crown and create static.
Satin-lined reusable shower cap. Extra-large with wide elastic
Targeted Dry Shampoo Application for Blowout Maintenance
Dry shampoo is the most common blowout extender, but most people apply it wrong. Spraying it all over the head after oil appears treats the symptom too late. Strategic, preemptive application keeps oil from becoming visible in the first place.
The Preemptive Method
Apply dry shampoo to your roots the night before you expect oil to appear, typically the second night after your blowout. The powder absorbs overnight sebum as it develops, so your roots still look clean the next morning. Focus on three zones:
- The part line. The most visible area of the scalp
- The hairline around the face. Where sebum shows first due to facial oil migration
- The crown. Where flat, oily roots are most noticeable
Choosing the Right Dry Shampoo Formula
- Powder-based (non-aerosol): Provides the most oil absorption per application and works well on thick hair. Can leave visible residue on dark hair if over-applied.
- Aerosol spray: Distributes more evenly and blends faster. Better for fine or dark hair. Look for formulas labeled “invisible” or “tinted for dark hair.”
- Paste or foam format: Newer formulas that add texture and volume along with oil absorption. Best for day three and beyond when the blowout needs both refreshing and reshaping.
For alternative root-refreshing methods that skip dry shampoo entirely, see our guide to refreshing roots without relying on dry shampoo.
Keep a Blowout from Frizzing in Humidity: Day-by-Day Maintenance
Preserving a blowout through a full week requires different strategies as the days progress. Here is a realistic day-by-day maintenance plan for humid climates.
Days 1-2: Protection Phase
Your blowout is at its freshest. The goal is to prevent damage, not fix it.
- Apply anti-humidity spray before leaving the house
- Sleep in a Doobie Wrap or on a silk pillowcase
- Avoid touching your hair, every touch transfers hand oils and disrupts the cuticle alignment
Days 3-4: Refresh Phase
Oil begins appearing at the roots and the style starts to lose its bounce.
- Apply dry shampoo preemptively the night before
- Use a boar bristle brush to redistribute sebum from roots toward ends
- Re-blast the roots for 30 seconds with a blow dryer on medium heat to revive volume. For detailed technique, see our guide to blow-drying for maximum style memory.
Days 5-7: Transformation Phase
The original blowout silhouette is fading. Adapt rather than fight it.
- Day 5: Add loose bends at the front sections with a large-barrel curling iron or velcro rollers. This refreshes the frame around your face without restyling the entire head.
- Day 6: Pull hair into a low chignon or sleek ponytail that uses the natural oils as a smoothing agent. The slight oiliness actually helps create a polished, editorial look.
- Day 7: Wash day. Use a clarifying shampoo to remove accumulated dry shampoo residue and product buildup before your next blowout.
For styling inspiration on creating the perfect 90s supermodel blowout at home, that guide walks through the technique step by step.
Regional Humidity Considerations for the US, UK, and Canada
Humidity levels and seasonal patterns differ significantly across the three target markets, and your blowout strategy should account for where you live.
- US Southeast and Gulf Coast (Houston, Miami, Atlanta): Dew points regularly exceed 70°F from May through September. Polymer sealants and silicone-based anti-humidity serums are non-negotiable. Expect three to four days maximum from a blowout during peak summer.
- UK Coastal and Southern England (London, Bristol, Cardiff): Moderate humidity with frequent rain. The challenge is less about atmospheric moisture and more about physical water contact. Carry a compact umbrella and a travel-size anti-humidity spray for unexpected showers.
- Canadian Prairie and Eastern Canada (Toronto, Montreal, Winnipeg): Extreme seasonal variation. Summer humidity rivals the US Southeast, but winter air is bone-dry. In winter, static becomes the bigger enemy, use a light smoothing serum rather than anti-humidity spray.
Travel-size anti-humidity spray set, TSA-friendly
Frequently Asked Questions
Q: Keep a blowout from frizzing in humidity? A: Apply a polymer-based anti-humidity spray to completely dry hair before exposure, focusing on the canopy layer and face-framing sections. Sleep in a Doobie Wrap or on a silk pillowcase to prevent overnight frizz. Avoid touching your hair during the day, and reapply a light mist of anti-humidity spray if you will be outdoors for extended periods.
Q: How long can a blowout realistically last in humid weather? A: In moderate humidity (dew point below 60°F), a well-maintained blowout can last five to seven days. In high humidity (dew point above 70°F), expect three to four days of the original smooth shape before transitioning to adapted styles like ponytails or loose curls.
Q: Should you use hairspray or anti-humidity spray on a blowout? A: Use both, but in the right order. Apply anti-humidity spray first as a sealant, then finish with a flexible-hold hairspray to lock in shape. Stiff-hold hairsprays can make hair crunchy, which is counterproductive, choose formulas labeled “flexible” or “brushable.”
Q: Does the Doobie Wrap work on curly hair? A: The Doobie Wrap is specifically designed for straight blowout styles. Wrapping curly or wavy hair flat around the head would stretch out the curl pattern. For curly styles, the pineapple method. Gathering curls loosely on top of the head, is the better overnight option.
Q: Can you exercise without ruining a blowout? A: Yes, but manage sweat immediately. Blot your scalp with a microfiber towel right after your workout, then use a cool-setting blow dryer for 60 seconds to evaporate residual moisture. Apply dry shampoo once roots are fully dry. Avoid high-humidity workout environments like hot yoga, which will saturate the hair shaft.
A Full Week of Great Hair Starts on Wash Day
Making a blowout last in humidity is not about luck, it is a system. Start with a thorough blowout that builds style memory, seal the cuticle with polymer-based anti-humidity products, protect your hair overnight with the Doobie Wrap or a silk pillowcase, and shift strategies from preservation to transformation as the week progresses. Master these techniques and your next salon blowout will still look polished on day seven.