Heatless Blowout Hacks Using Velcro Rollers
The 90s supermodel blowout never actually required a round brush and a blazing-hot dryer. Cindy Crawford, Claudia Schiffer, and Linda Evangelista relied on velcro rollers backstage to build root lift that lasted through entire runway shows. Today, TikTok creators have revived the technique with billions of views, proving that a voluminous blowout without heat is faster, cheaper, and far less damaging than any blow-dry routine. This velcro rollers tutorial breaks down the exact science of root tension, roller diameter selection, and cool-down timing so you can replicate that bouncy, face-framing volume at home.
The Anatomy of a 90s Blowout (and Why Velcro Rollers Deliver It)
A classic blowout has three structural layers: root lift, mid-shaft bend, and end-flip. Most people focus only on curling the ends, which is why their at-home blowouts fall flat within an hour. Velcro rollers address all three layers simultaneously because the hook-and-loop surface grips hair from root to tip, creating consistent tension along the entire strand.
The physics are straightforward. When damp or product-coated hair dries under tension, hydrogen bonds in the cortex re-form in the shape dictated by that tension. A velcro roller wrapped snugly at the root forces the hair shaft to set at an angle away from the scalp, producing lift that persists until the next wash. This is the same principle behind a round-brush blowout, minus the 200-degree heat exposure.
Rolling hair away from the face is the signature move of this style. It creates that swept-back, curtain-like silhouette that defined 90s editorial shoots and continues to dominate red carpets.
Roller Diameter Sizing Chart: Choosing the Right Width
The diameter of your velcro roller determines whether you get loose volume, structured waves, or tight curls. This is the single most overlooked variable in every no heat blowout tutorial online, and getting it wrong is the primary reason results disappoint.
Jumbo Rollers (44mm-55mm / 1.75″-2.2″)
- Best for: Blowout volume, root lift, long hair past the shoulders
- Result: Smooth, voluminous bend with no visible curl pattern
- Ideal section width: 2-3 inches
Medium Rollers (32mm-38mm / 1.25″-1.5″)
- Best for: Defined body, shoulder-length hair, layered cuts
- Result: Soft S-wave with noticeable movement
- Ideal section width: 1.5-2 inches
Small Rollers (20mm-25mm / 0.75″-1″)
- Best for: Bangs, fringe pieces, short layers under 6 inches
- Result: Tighter bend, strong directional curl
- Ideal section width: 1 inch or less
Pro tip: Most blowout looks use two sizes simultaneously. Jumbo rollers go on the crown and mid-lengths for volume, while medium rollers handle the face-framing layers and nape for definition. For an in-depth look at crown placement, see our guide to best velcro rollers for crown volume.
Jumbo velcro rollers set 44mm-55mm
How Do You Get a Blowout With Velcro Rollers Without Heat?
Start with 80% dry hair, a setting product, and the mohawk sectioning strategy. This method works on straight, wavy, and loosely curled textures. Tighter curl patterns benefit from a stretch-and-set approach covered in our heatless curls for every hair type pillar guide.
Step-by-Step Velcro Rollers Tutorial
- Wash and prep your hair. Towel-dry until hair is roughly 80% dry, damp but not dripping. Apply a lightweight mousse or non-aerosol volumizing spray from roots to mid-lengths. Learn more about moisture levels in our guide to prepping damp hair for heatless styling.
- Create the mohawk section. Part a wide strip of hair from your front hairline straight back to the crown, roughly 3-4 inches wide. Clip the side sections out of the way with duckbill clips. This center channel is where the most dramatic lift originates.
- Roll the mohawk section first. Take a 2-inch deep subsection at the very front hairline. Hold the hair straight up at 90 degrees from the scalp. Place the jumbo roller at the ends and roll downward toward the scalp, keeping firm tension as you wind. The roller should sit directly on the scalp when finished, not hovering above it. Secure with a duckbill clip pressed horizontally across the roller base.
- Continue down the mohawk. Repeat with 2-3 more subsections moving toward the crown. Each roller should sit snugly behind the one before it, creating a continuous ridge of lift down the center of your head.
- Roll the side sections. Release one side. Take diagonal-forward subsections starting from the crown and rolling toward the face. Roll each section away from the face, meaning the roller winds backward. This creates that iconic face-framing sweep. Use medium rollers here if your layers are shorter than your crown hair.
- Roll the nape. For the lowest sections near your neck, roll downward (under, toward the neck). These pieces create the flipped-end finish of a polished blowout. Medium or small rollers work best here.
- Set and wait. Leave rollers in for a minimum of 45 minutes if hair was 80% dry at the start. For maximum hold, leave them in for 90 minutes or until hair is completely dry to the touch.
Why the Mohawk Section Matters
The mohawk strategy concentrates your largest rollers along the center of the head where root lift is most visible. Side sections rolled at a diagonal create directional movement rather than random puffiness. This is the structural difference between a polished blowout and hair that simply looks “big.”
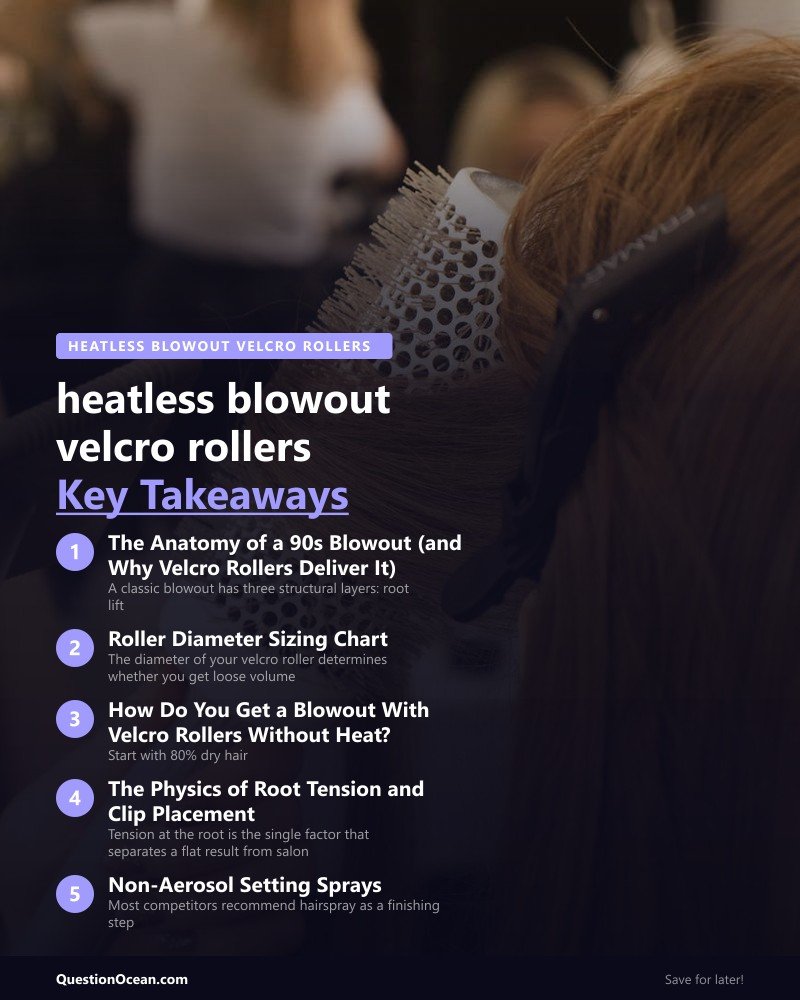
The Physics of Root Tension and Clip Placement
Tension at the root is the single factor that separates a flat result from salon-level lift. When you wrap hair around a velcro roller, two forces are at work: the grip of the hook-and-loop surface on the hair cuticle, and the mechanical tension created by how tightly you wind.
The velcro surface alone is not enough to maintain tension for the 45-90 minutes needed for hydrogen bonds to reset. This is why clip placement is non-negotiable. A duckbill clip or pin clip pressed horizontally at the base of each roller prevents the roller from unwinding and losing contact with the scalp.
Place clips so that the flat side presses the roller downward toward the scalp, not sideways. Sideways clips allow the roller to pivot and release tension on one side, creating uneven lift. For maximum grip on fine or silky hair, spray a light mist of non-aerosol setting spray directly onto each wound section before clipping.
Tension Maintenance for Different Hair Textures
- Fine hair: Winds easily but slips off rollers. Use extra clips (two per roller) and a tacky setting spray.
- Medium hair: Grips well with standard technique. One clip per roller is sufficient.
- Thick or coarse hair: Requires smaller subsections to keep tension even. Do not overload a single roller with too much hair, or the outer strands will set while the inner ones remain limp.
Non-Aerosol Setting Sprays: The Missing Ingredient
Most competitors recommend hairspray as a finishing step, but the real game-changer is a non-aerosol setting spray applied before rolling. Aerosol sprays deposit product unevenly and can create a crunchy texture that defeats the purpose of a soft blowout. Non-aerosol pump sprays distribute fine, even moisture that enhances hydrogen bond formation without stiffness.
Look for formulas containing flexible-hold polymers like VP/VA copolymer or PVP. Avoid products labeled “maximum hold” or “freeze hold,” which will create rigidity rather than movement.
Apply 2-3 pumps per section before winding onto the roller. The slight dampness from the spray actually helps if your hair dried too much during sectioning, extending your working window.
Non-aerosol volumizing setting spray
The Cool-Down Phase: Why Timing Matters
Removing rollers before hair is fully dry and cool is the number one reason heatless blowouts fail. Hydrogen bonds need to fully set in their new position, and this only happens when moisture has completely evaporated and the hair has cooled to room temperature.
If you styled with slightly damp hair and a setting spray, expect a minimum of 45 minutes for fine hair and up to 90 minutes for thick hair. You can speed this up without heat by sitting near an open window or using a fan on a cool setting directed at your rolled hair.
Test readiness by touching the hair at the base of one roller near the nape (the slowest area to dry). If it feels even slightly cool or damp, leave the rollers in for another 15 minutes.
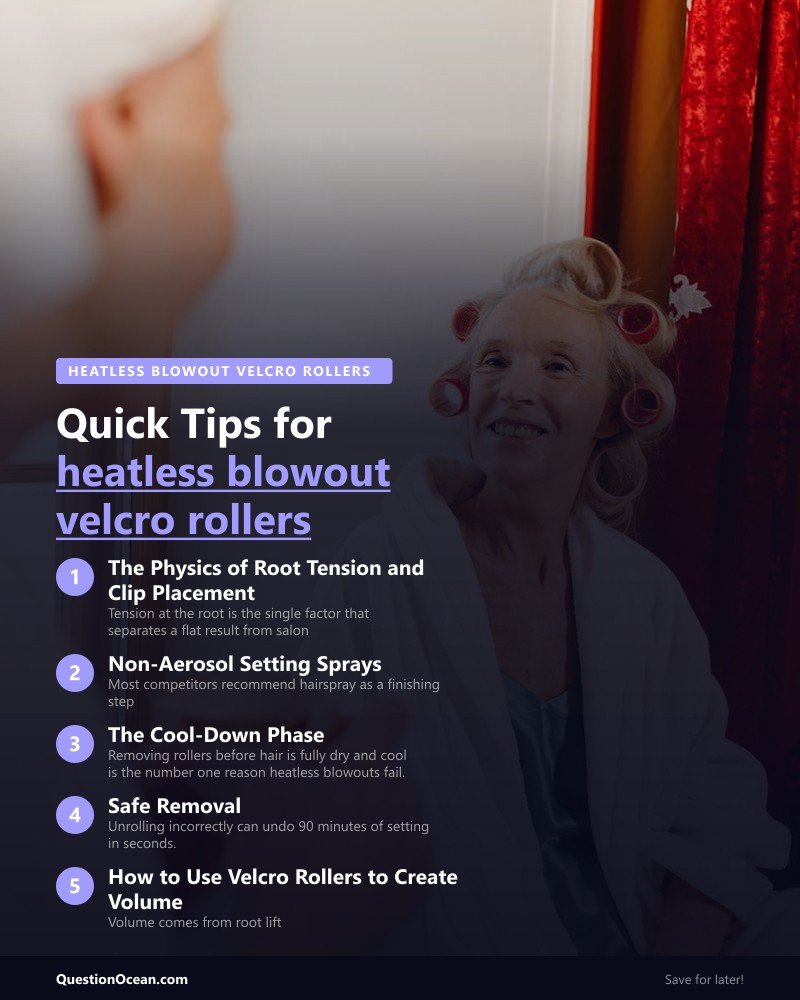
Safe Removal: Protecting Your Volume
Unrolling incorrectly can undo 90 minutes of setting in seconds. Follow this sequence to preserve every bit of lift:
- Remove clips first. Take out every clip before touching any roller. This prevents snagging.
- Start at the nape. Work from the bottom up so upper rollers continue setting while you remove lower ones.
- Unwind, do not pull. Hold the roller with one hand and gently unwind hair with the other. If velcro catches, do not yank. Slowly peel hair away from the roller surface using a fine-toothed comb slid between the roller and the hair.
- Do not brush immediately. Let the curled sections hang for 2-3 minutes. Then flip your head upside down and shake roots loose with your fingers. Finish with a wide-tooth comb or paddle brush through the ends only.
This method is also effective for shorter lengths. For overnight variations on shorter cuts, check out our guide to heatless curlers for short hair overnight.
How to Use Velcro Rollers to Create Volume
Volume comes from root lift, and root lift comes from roller placement at 90 degrees or higher. The single most effective technique for volume is overdirecting the hair. Instead of wrapping hair at its natural fall angle, hold each section straight up (perpendicular to the scalp) or even slightly forward before winding. This forces the root area to set with built-in height.
For extreme volume at the crown, try stacking two rollers vertically in the mohawk section. Wind the first roller normally, then take the next subsection and roll it so it rests directly on top of the first roller rather than behind it. This creates a double layer of tension at the root zone.
To lock in volume through changing weather, apply a humidity-resistant finishing spray after removal. Our guide to making heatless curls last in humidity covers product recommendations and techniques for sealing your style.
Localized Shopping Guide: US, UK, and CA
United States
- Jumbo velcro rollers (2-inch diameter): Widely available at Sally Beauty, Ulta, and Amazon US
- Non-aerosol setting sprays: Look for Kenra Volume Spray 25, Not Your Mother’s Curl Talk mousse, or R+Co Trophy shine and texture spray
- Duckbill clips: Available in multi-packs at any beauty supply store
United Kingdom
- Jumbo velcro rollers: Available at Boots, Superdrug, and Amazon UK. Salon Services brand offers professional-grade options.
- Non-aerosol setting sprays: Look for Percy & Reed, Lee Stafford, or Tresemme Botanique
- Duckbill clips: Available at Boots and Sally Beauty UK
Canada
- Jumbo velcro rollers: Available at Shoppers Drug Mart/Pharmaprix, Sally Beauty Canada, and Amazon CA
- Non-aerosol setting sprays: Look for AG Hair, Cake Beauty, or Kenra (widely distributed in Canadian salons)
- Duckbill clips: Available at trade supply stores and Amazon CA

Frequently Asked Questions
How long do you leave velcro rollers in for a no heat blowout?
Leave velcro rollers in for a minimum of 45 minutes on fine hair and up to 90 minutes on thick or coarse hair. The hair must be completely dry and cool to the touch before removal. Removing rollers while hair is still damp will cause the style to drop within 30 minutes because the hydrogen bonds have not fully reset.
Can you sleep in velcro rollers?
Sleeping in velcro rollers is possible but not ideal for blowout results. The pressure of your head against a pillow flattens rollers on one side, creating uneven volume. If you need an overnight set, wrap a silk scarf loosely over the rollers and sleep on your back. Foam or satin-covered rollers are generally more comfortable for overnight wear.
Do velcro rollers work on fine hair?
Velcro rollers work exceptionally well on fine hair because the hook-and-loop texture grips smooth strands firmly. Fine hair actually sets faster and holds root lift longer than thick hair when rollers are used correctly. The key is to use two clips per roller and apply a setting spray before winding to prevent slippage.
What size velcro rollers should I use for a blowout?
For a blowout with smooth volume and minimal curl, use jumbo rollers in the 44mm-55mm (1.75″-2.2″) range on the crown and mid-lengths. Use medium rollers in the 32mm-38mm (1.25″-1.5″) range on face-framing sections and shorter layers. Smaller rollers (20mm-25mm) are reserved for bangs and fringe pieces that need a tighter directional bend.
How do you keep velcro rollers from falling out?
Secure each roller with a duckbill clip pressed horizontally at the base, pushing the roller toward the scalp. On slippery or freshly conditioned hair, spray a non-aerosol setting spray onto each section before winding for additional grip. Taking smaller subsections also helps because overloaded rollers lack the tension needed to stay in place. Avoid touching or adjusting rollers once they are clipped, as movement disrupts the setting process.
Why does my velcro roller blowout go flat so quickly?
The most common cause is removing rollers before hair is fully dry and cooled. The second cause is insufficient tension at the root during winding. Make sure you hold each section at 90 degrees from the scalp and wind firmly, keeping the roller flush against the scalp surface. Using a setting product before rolling and a lightweight finishing spray after removal also extends hold time significantly.
Master the Heatless Blowout Velcro Rollers Technique
The heatless blowout velcro rollers method delivers salon-level volume without a single degree of damaging heat. By choosing the correct roller diameter for each section, mastering the mohawk sectioning strategy, and respecting the full cool-down drying time, you get root lift and bouncy movement that rivals any professional blow-dry. Pick up a set of jumbo and medium velcro rollers, a reliable non-aerosol setting spray, and a handful of duckbill clips, and your next wash day becomes a zero-damage blowout session.